-
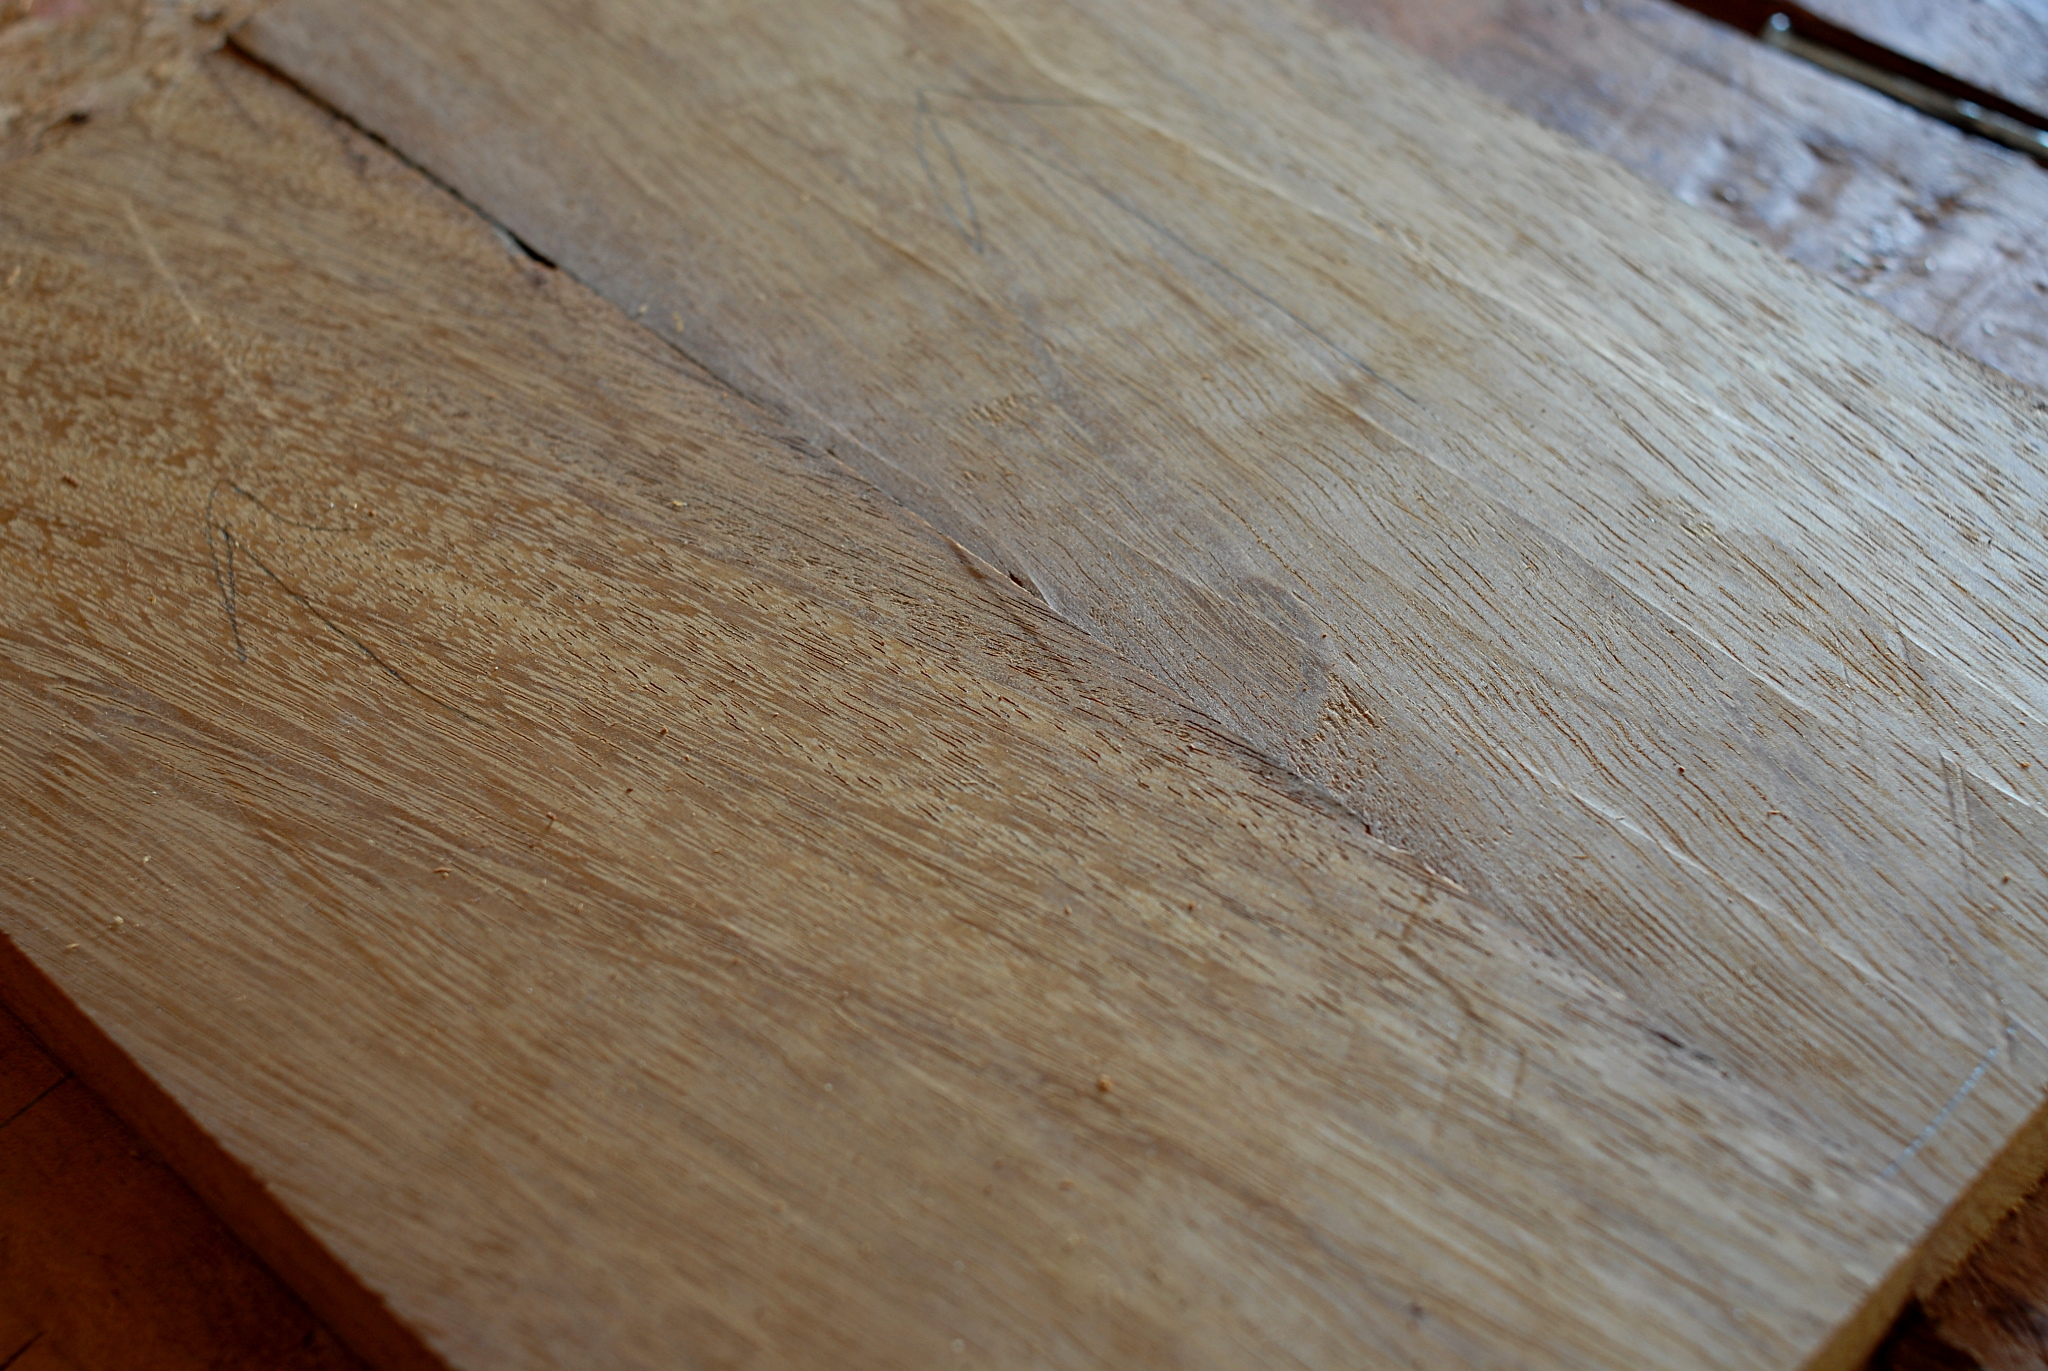
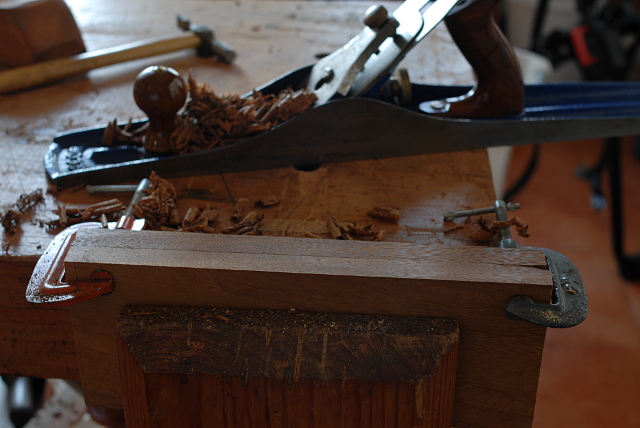
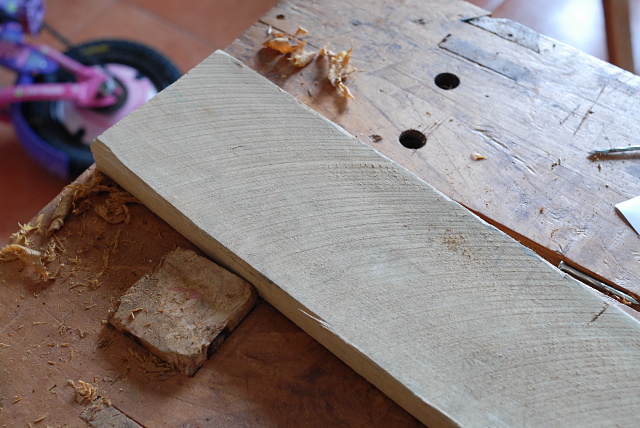
To continue with yesterday's piece — the amargoso board which I glued is now dry, and now it is time to flatten it. We use a straightedge to see how bad it is on the "good" side.

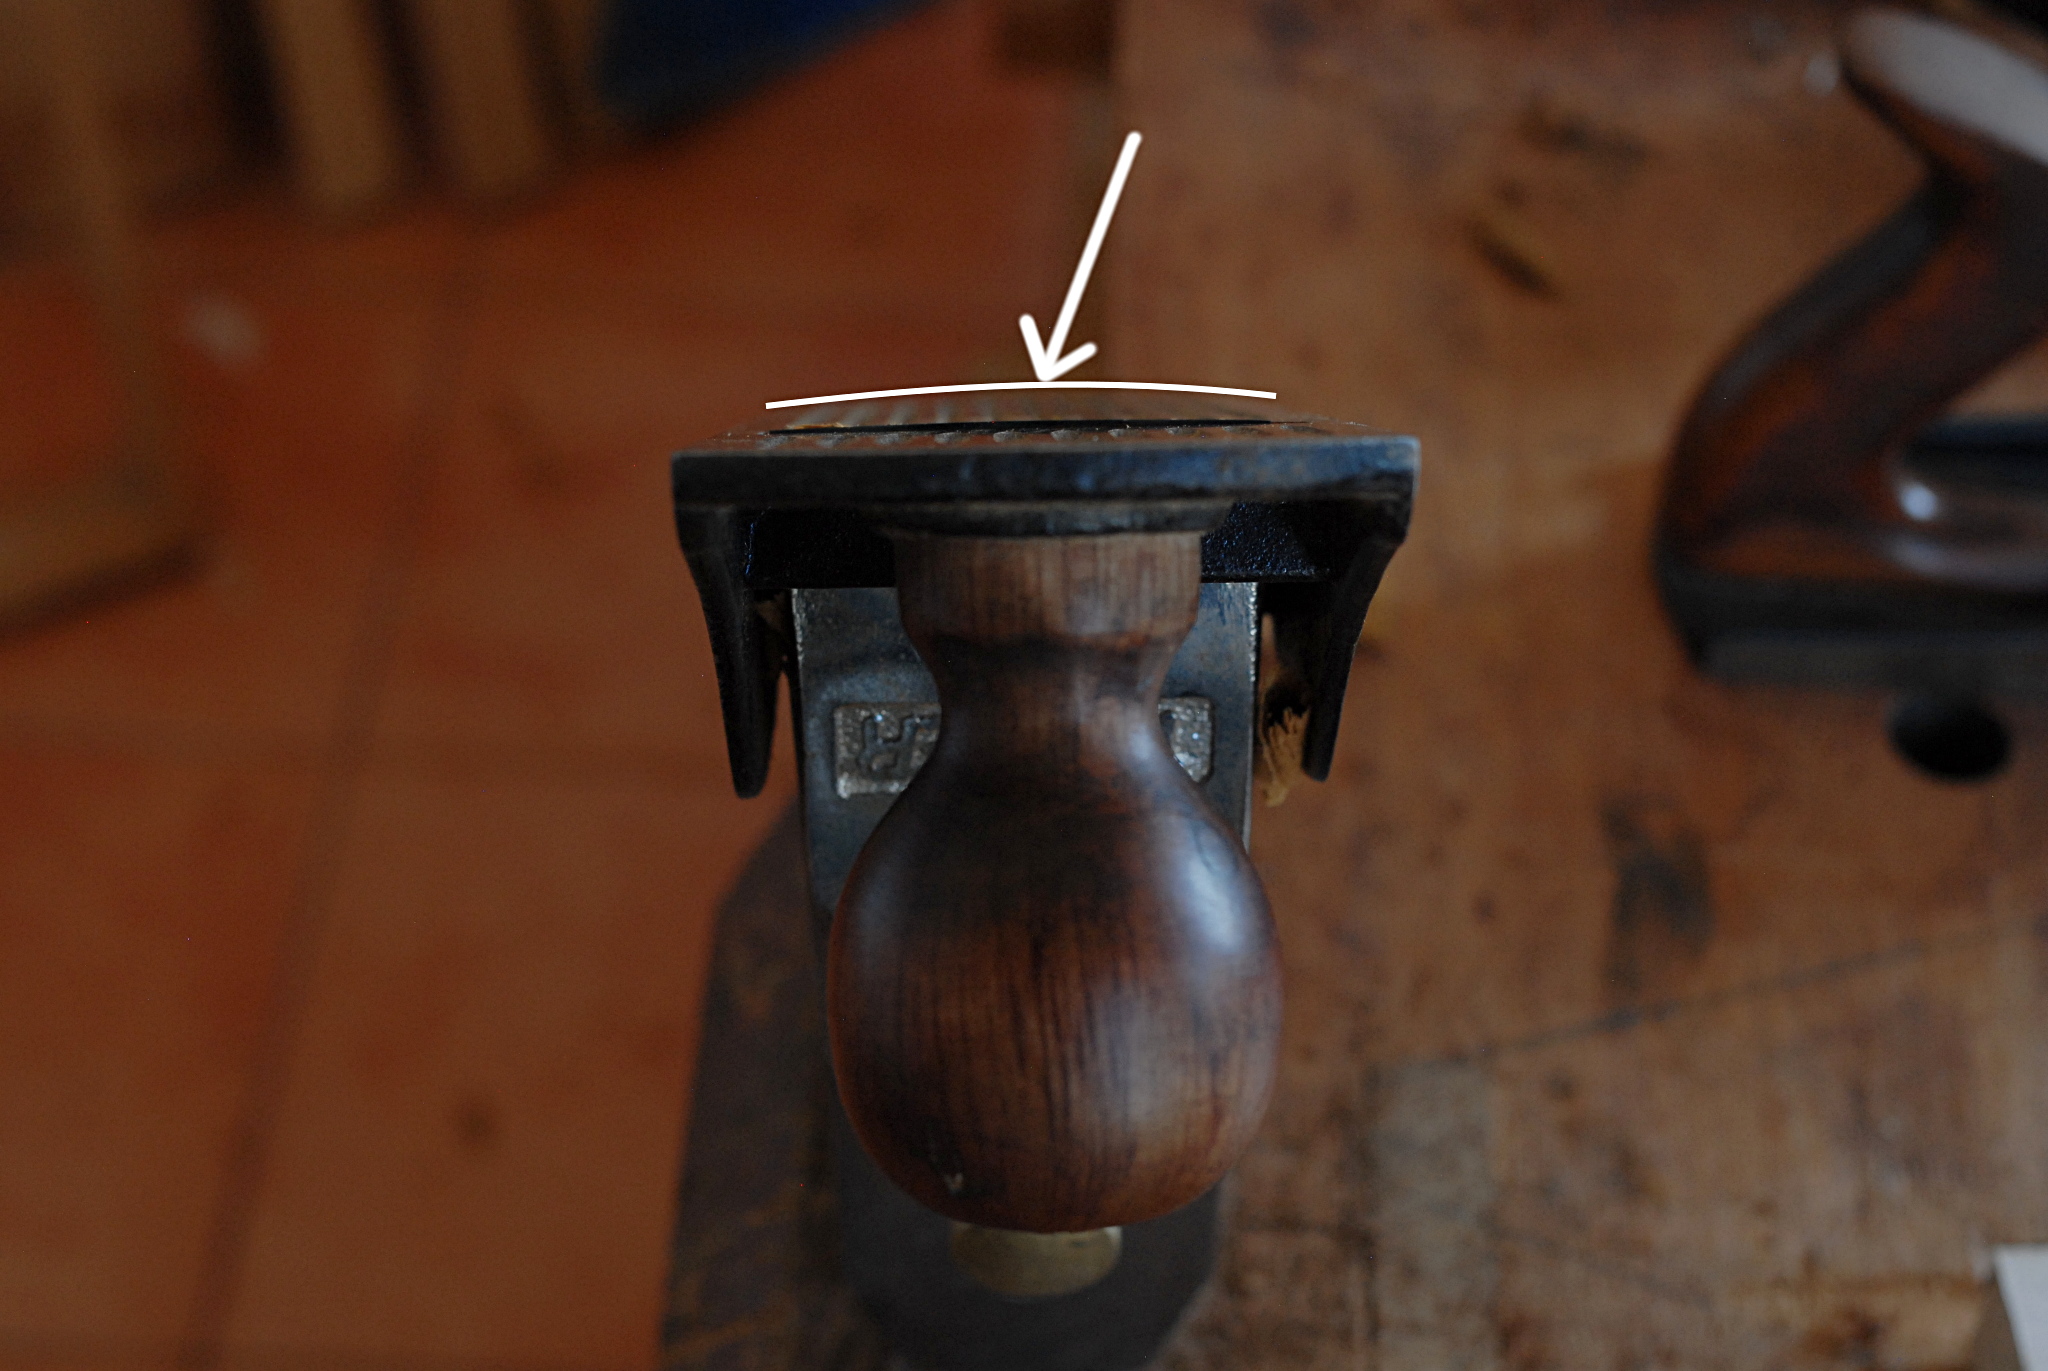
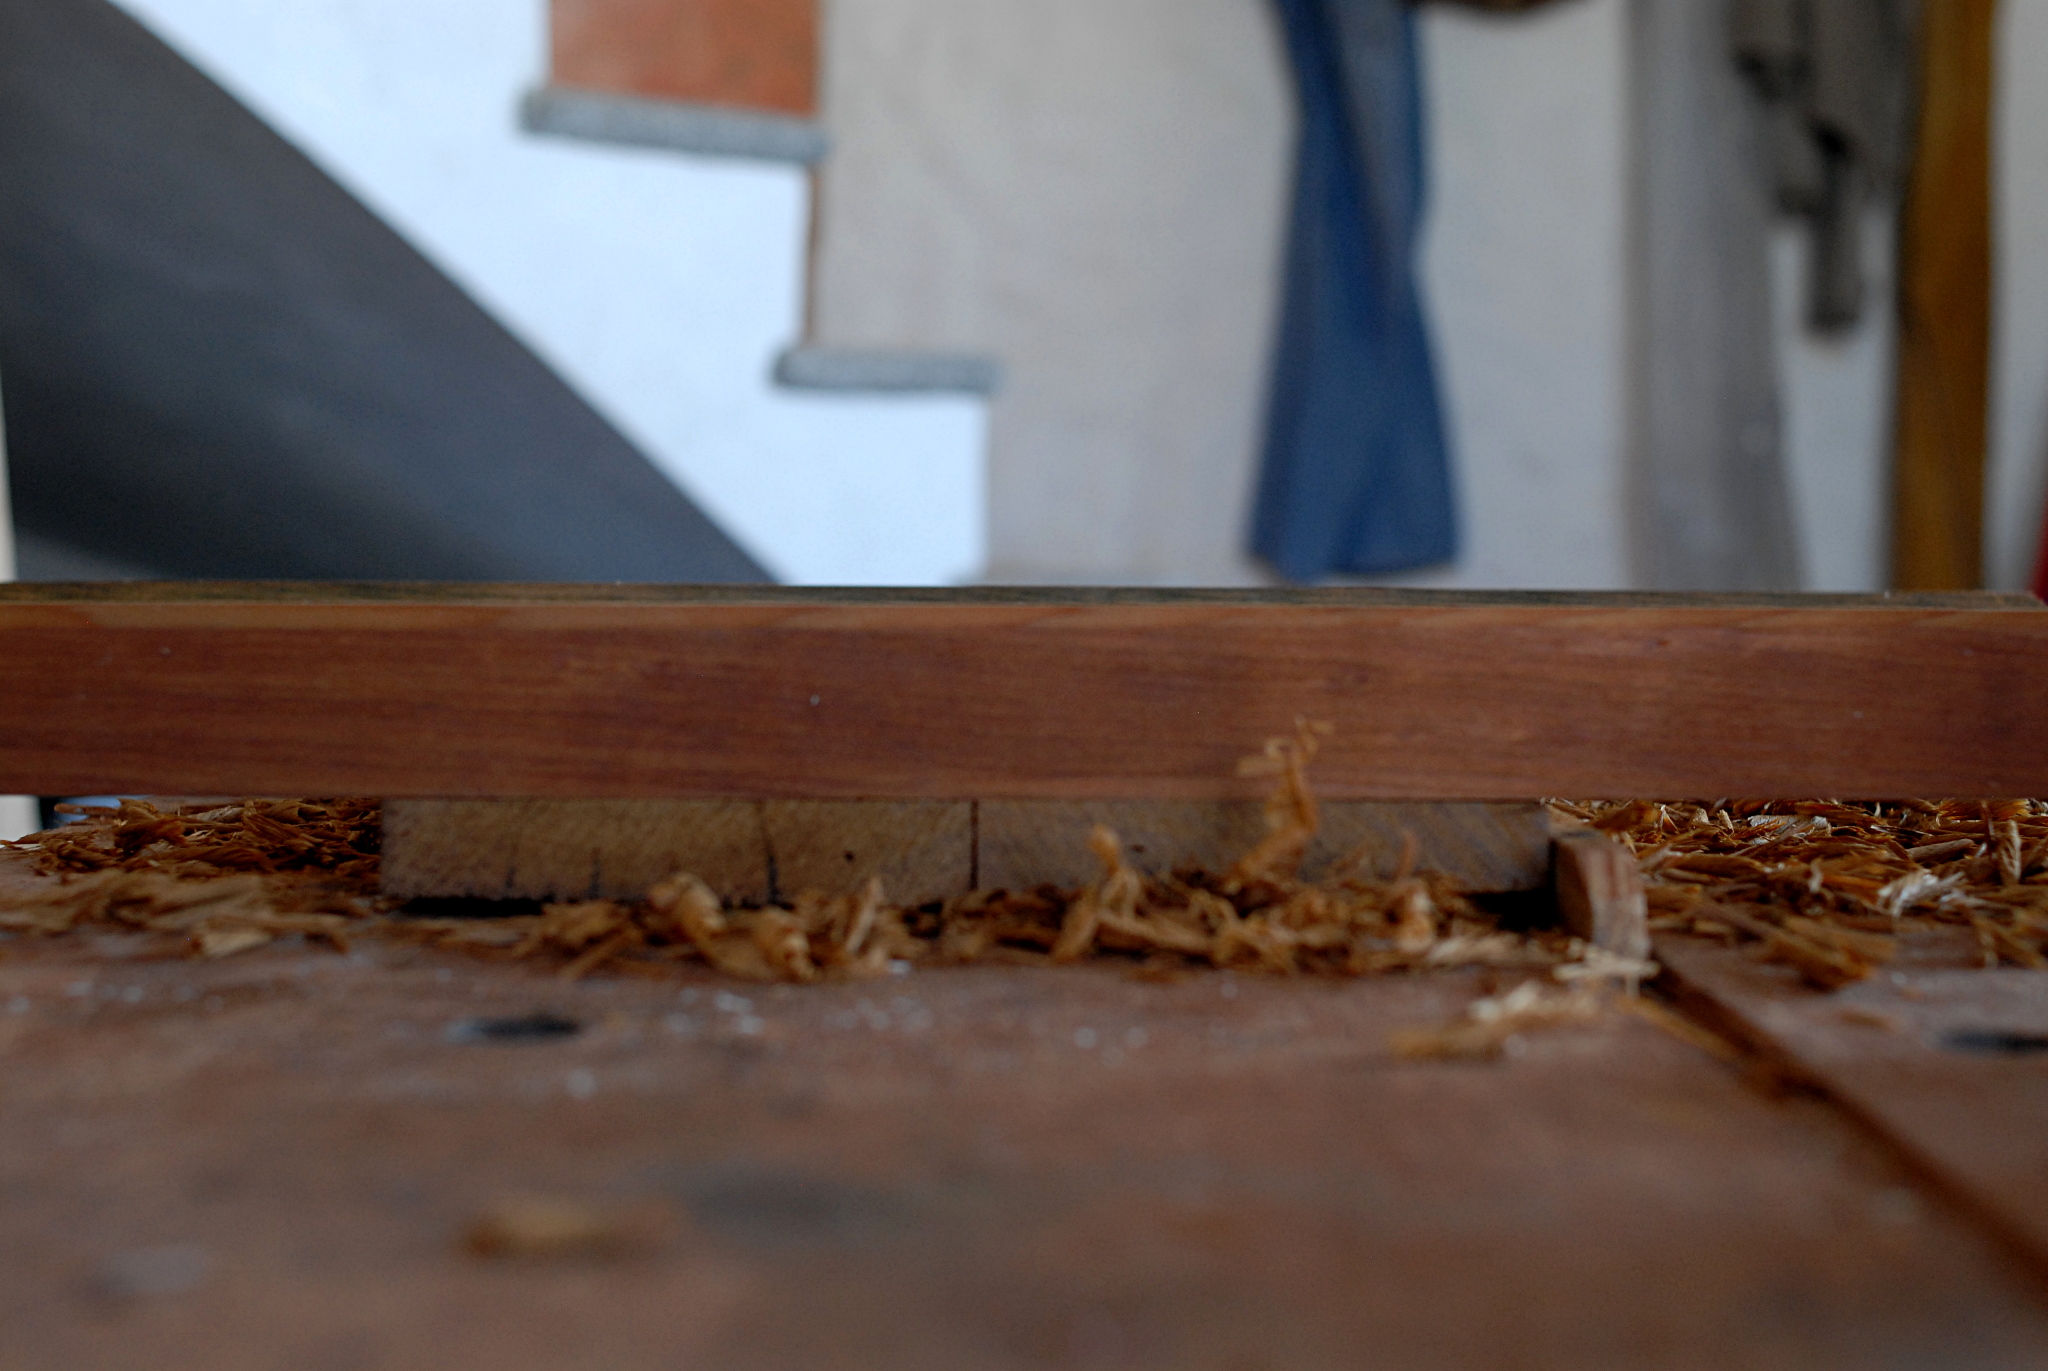
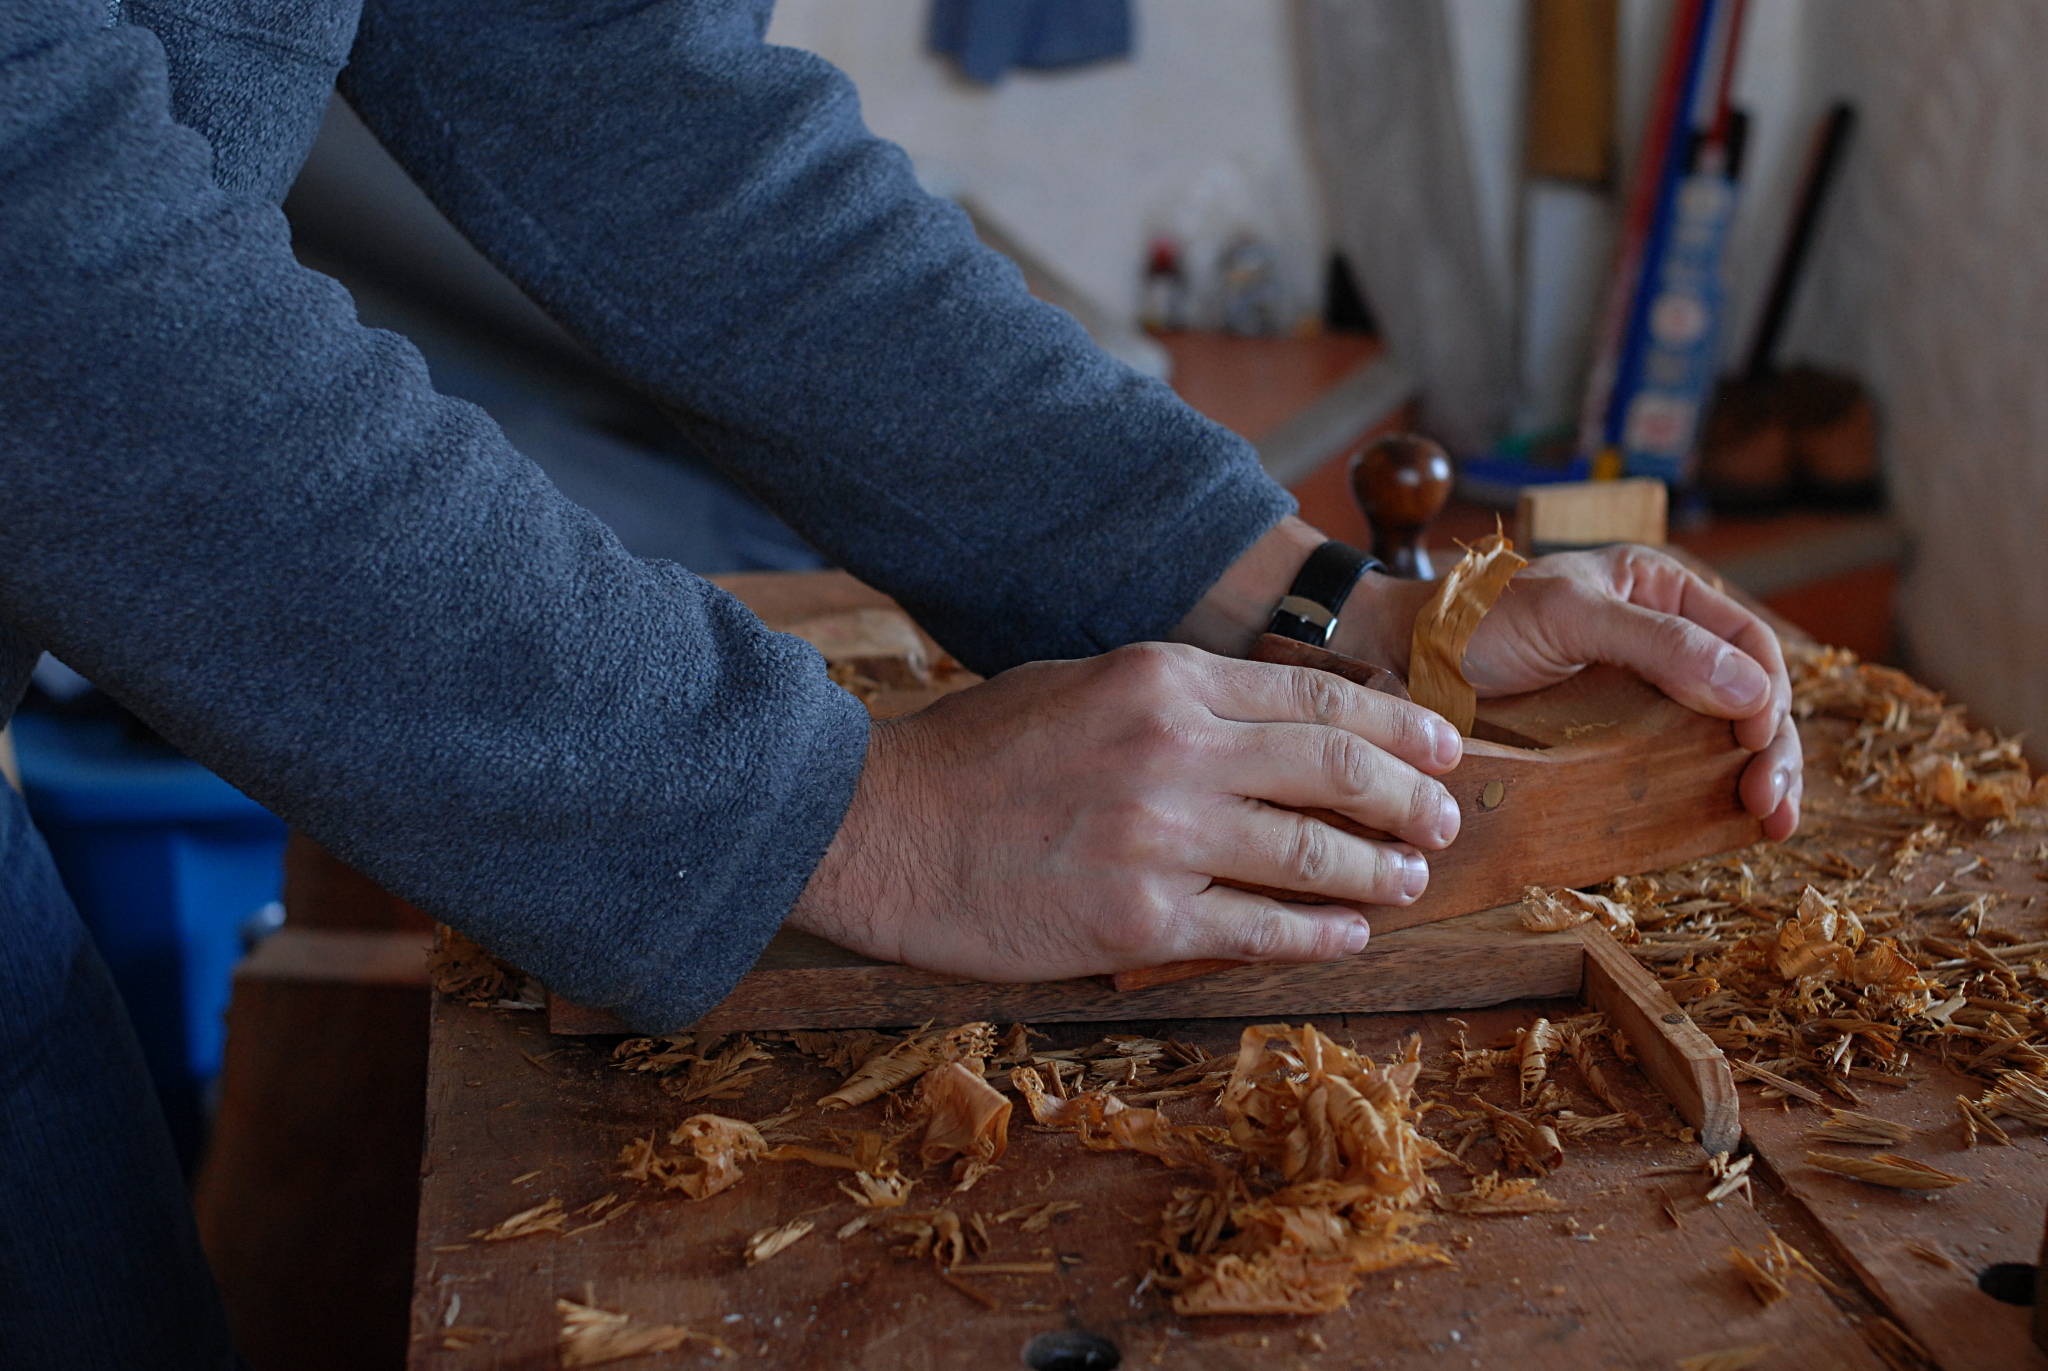
We use a jack plane with a cambered blade. There is a slight curvature to the edge; this lets us remove wood quickly. We plane across the grain to remove the cupping of the board. I put some shavings in strategic spots between the board and the workbench to keep the board from rocking around, as its bottom is not flat yet.
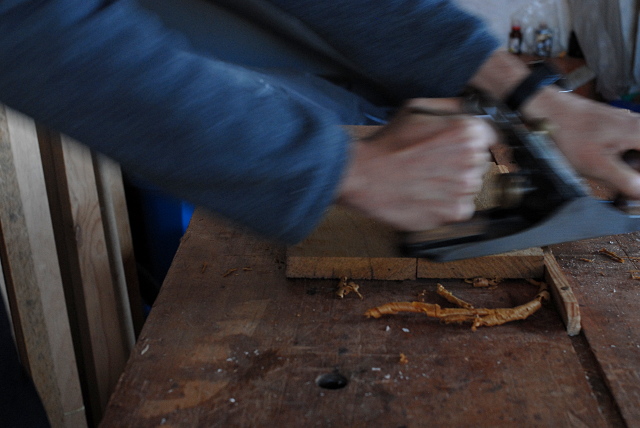
We use winding sticks at the ends of the board to test if the wood is twisted. Sight almost level across them, and if they look parallel, then the wood is not twisted. Otherwise, plane away the high spots.


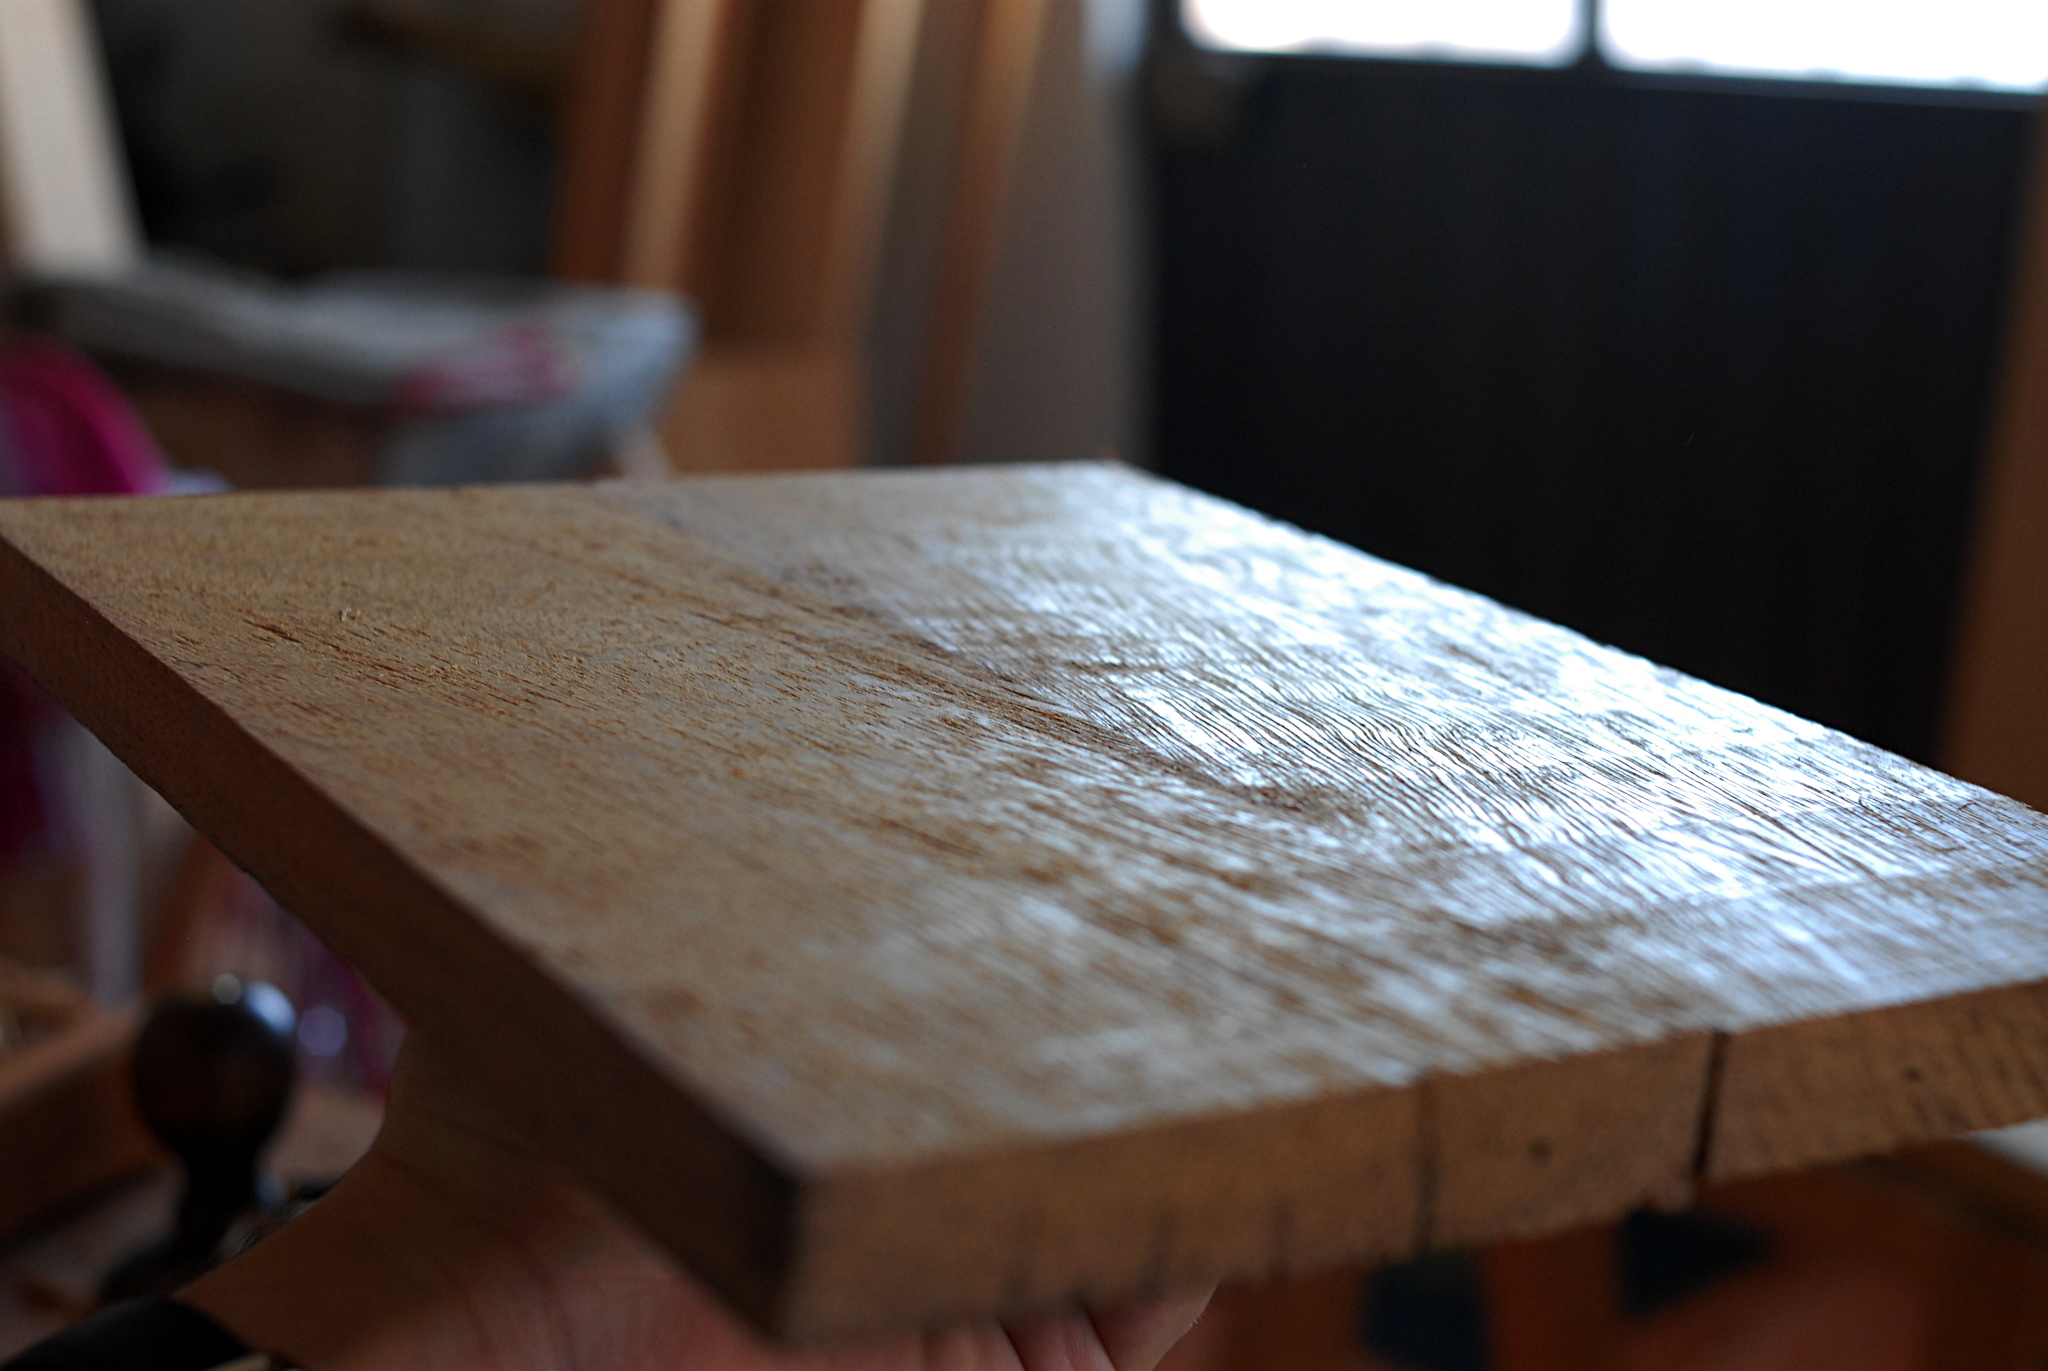
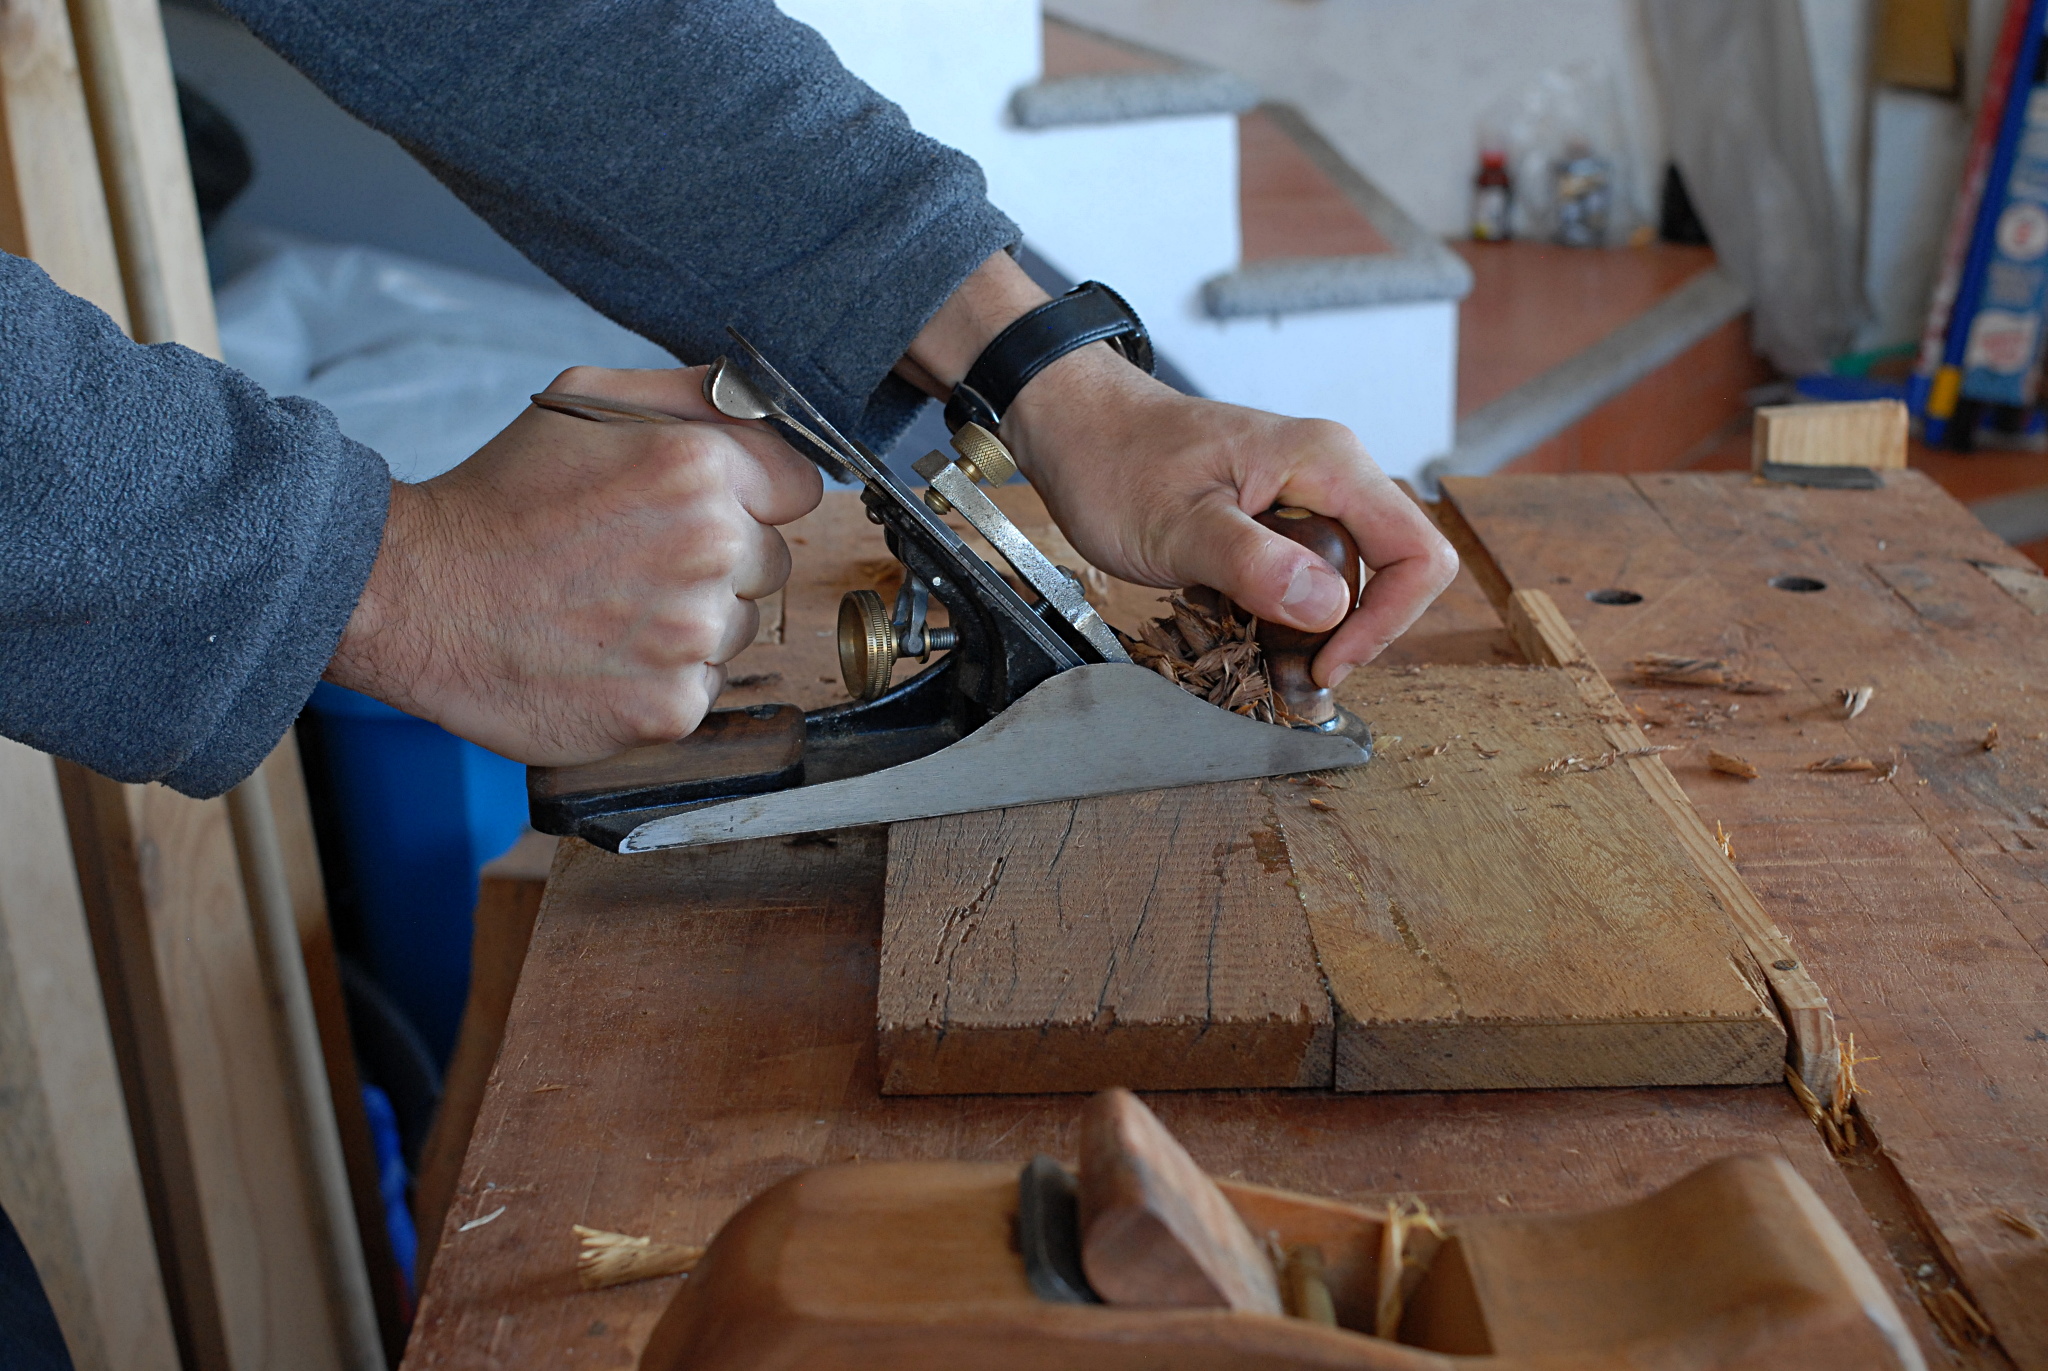
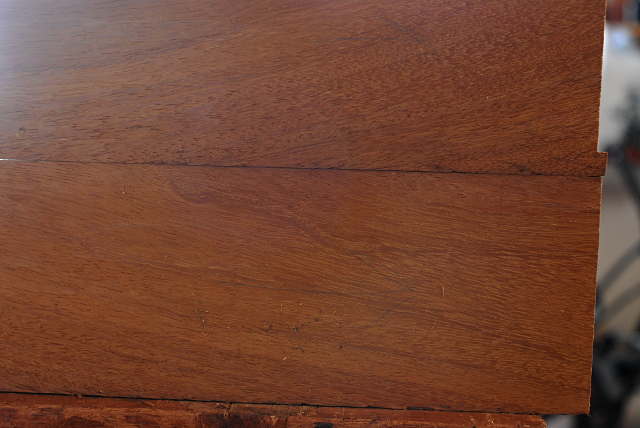
This gives us a flat board with scalloped tracks. We use a smoothing plane to remove the tracks, planing along the grain. This finally gives us a perfectly flat, smooth surface. This will be our reference face.


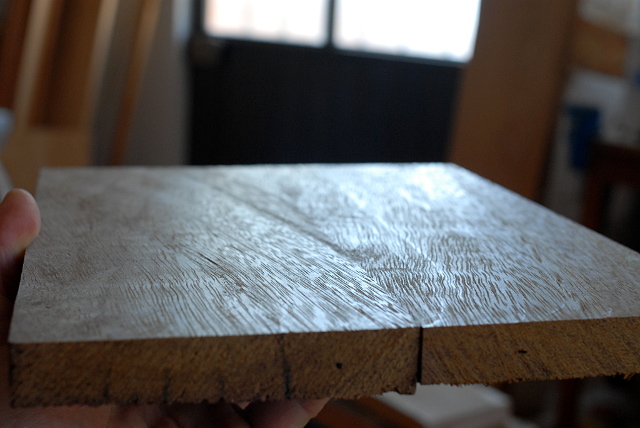
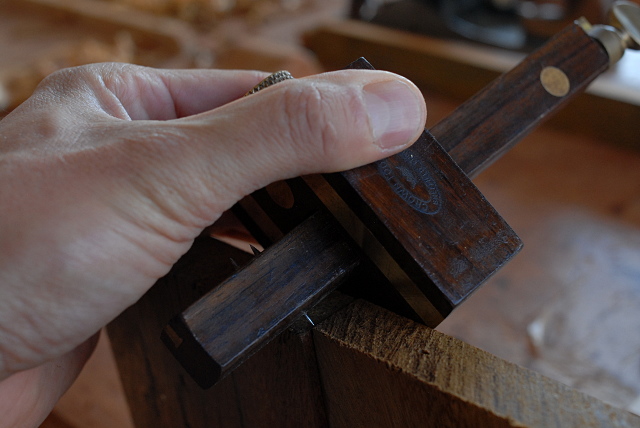
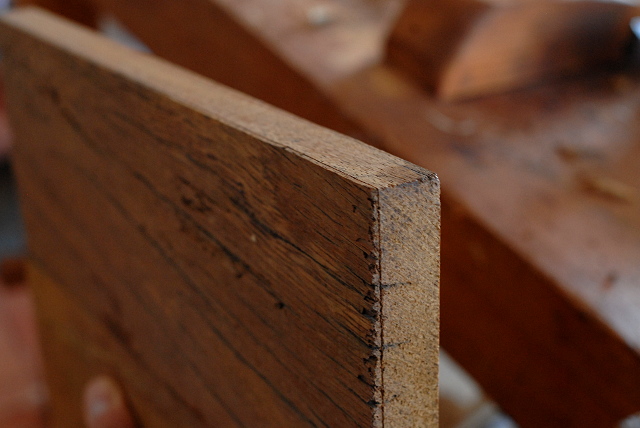
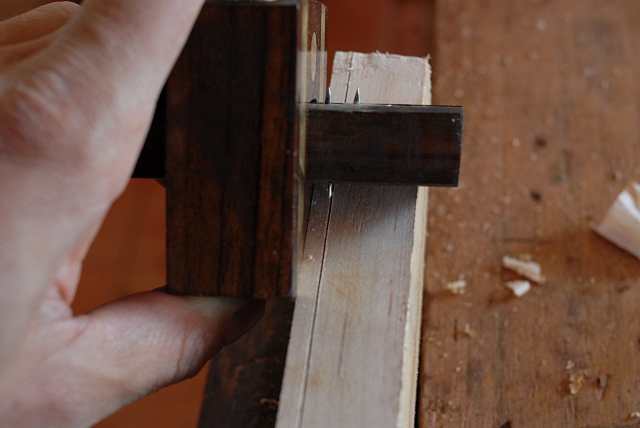
On that last picture, you'll see that both halves of the board are not of the same thickness, and we need to even them up. We set a marking gauge to the thinnest part of the boards. Mark all four sides, using the flat side as the reference face, so we have a line around the board at a constant distance to the reference face.
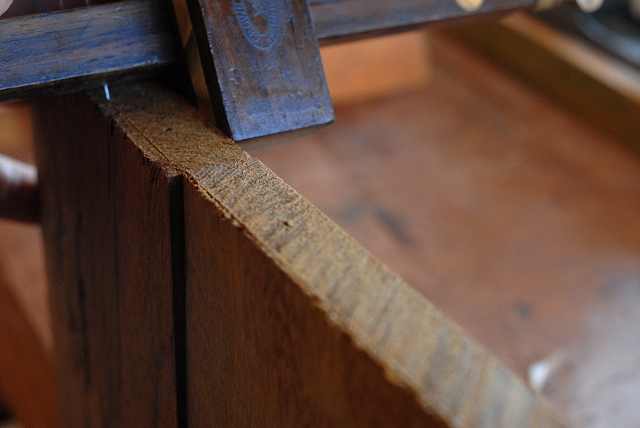
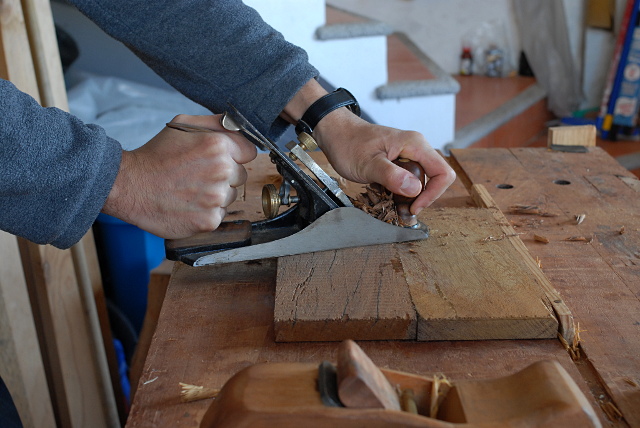
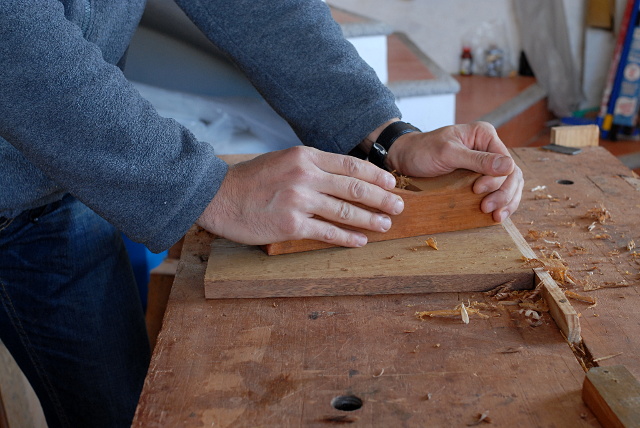
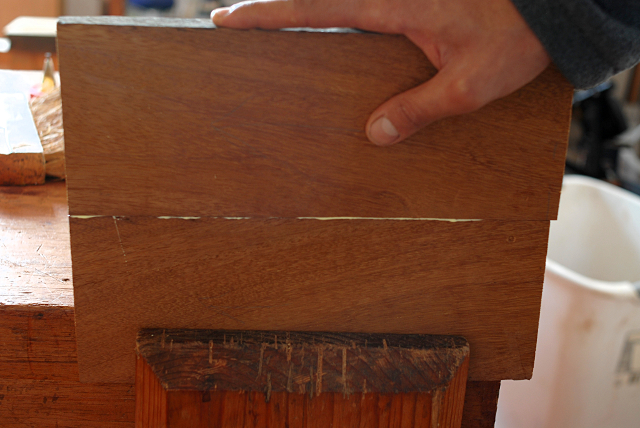
Again, plane the board flat across the grain with a jack plane and its cambered iron. When you reach the gauged line, you are done. Use a smoothing plane along the grain to make the surface pretty. Now we have a perfectly flat board of uniform thickness.
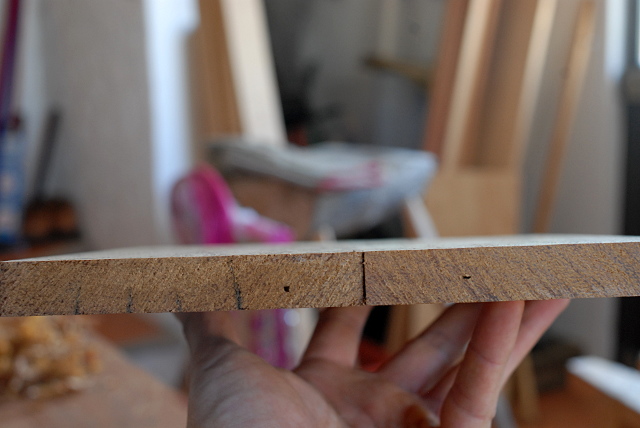
Now we go back to the light-colored maple board from yesterday. First I finished flattening the reference face. Then, I used the marking gauge to put a line all around at about 5mm to the reference face. This will be our slice of maple for the inlaid GNOME logo.
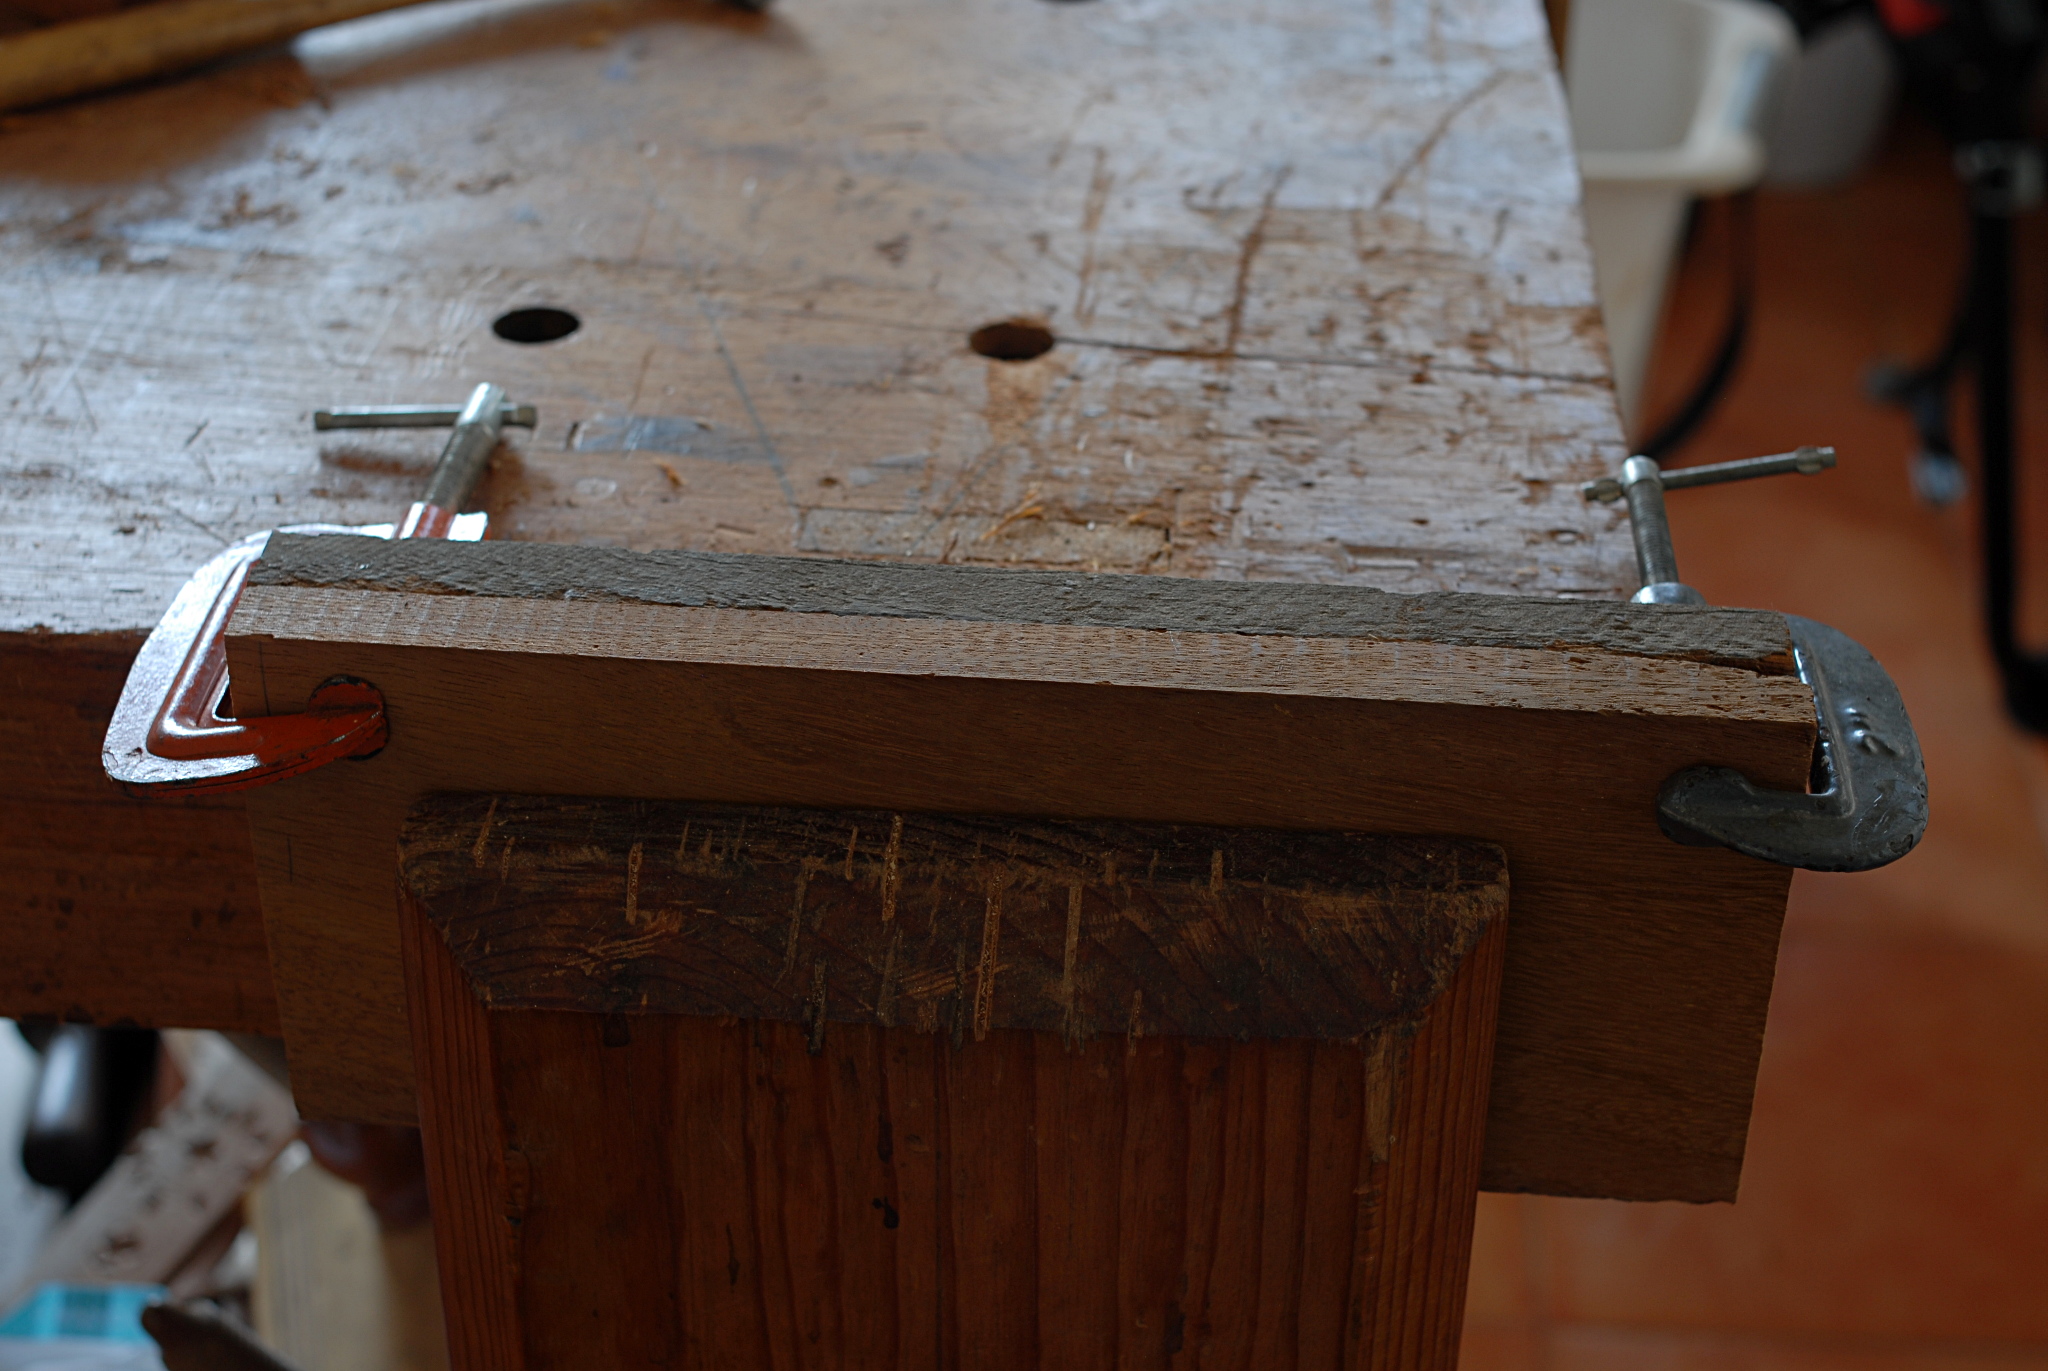
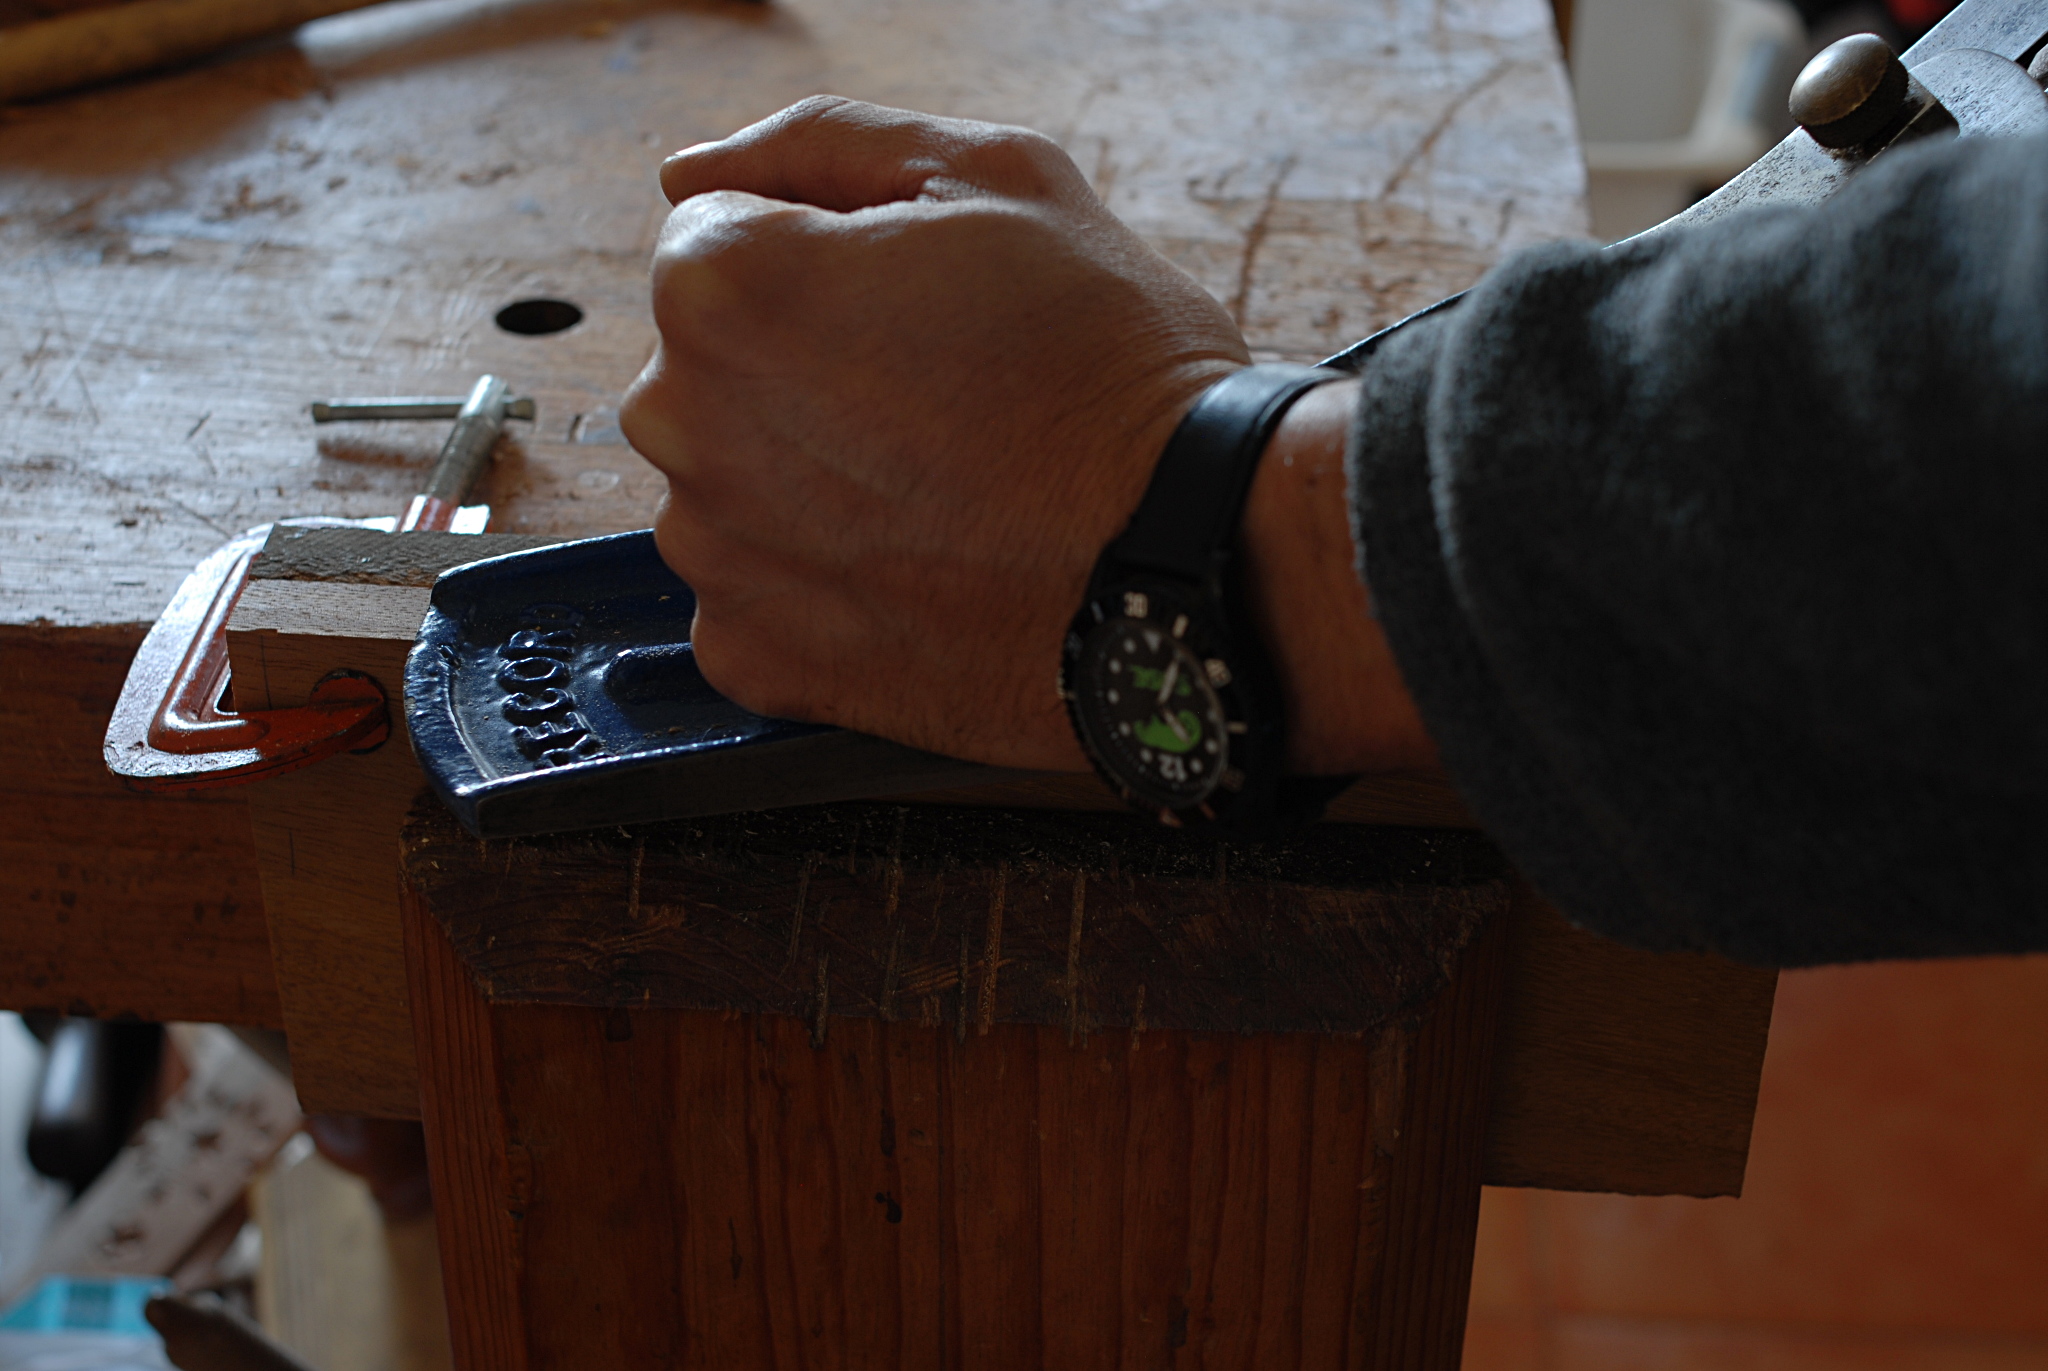
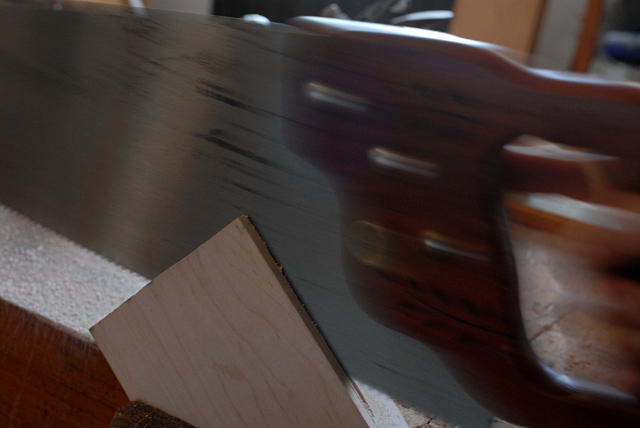
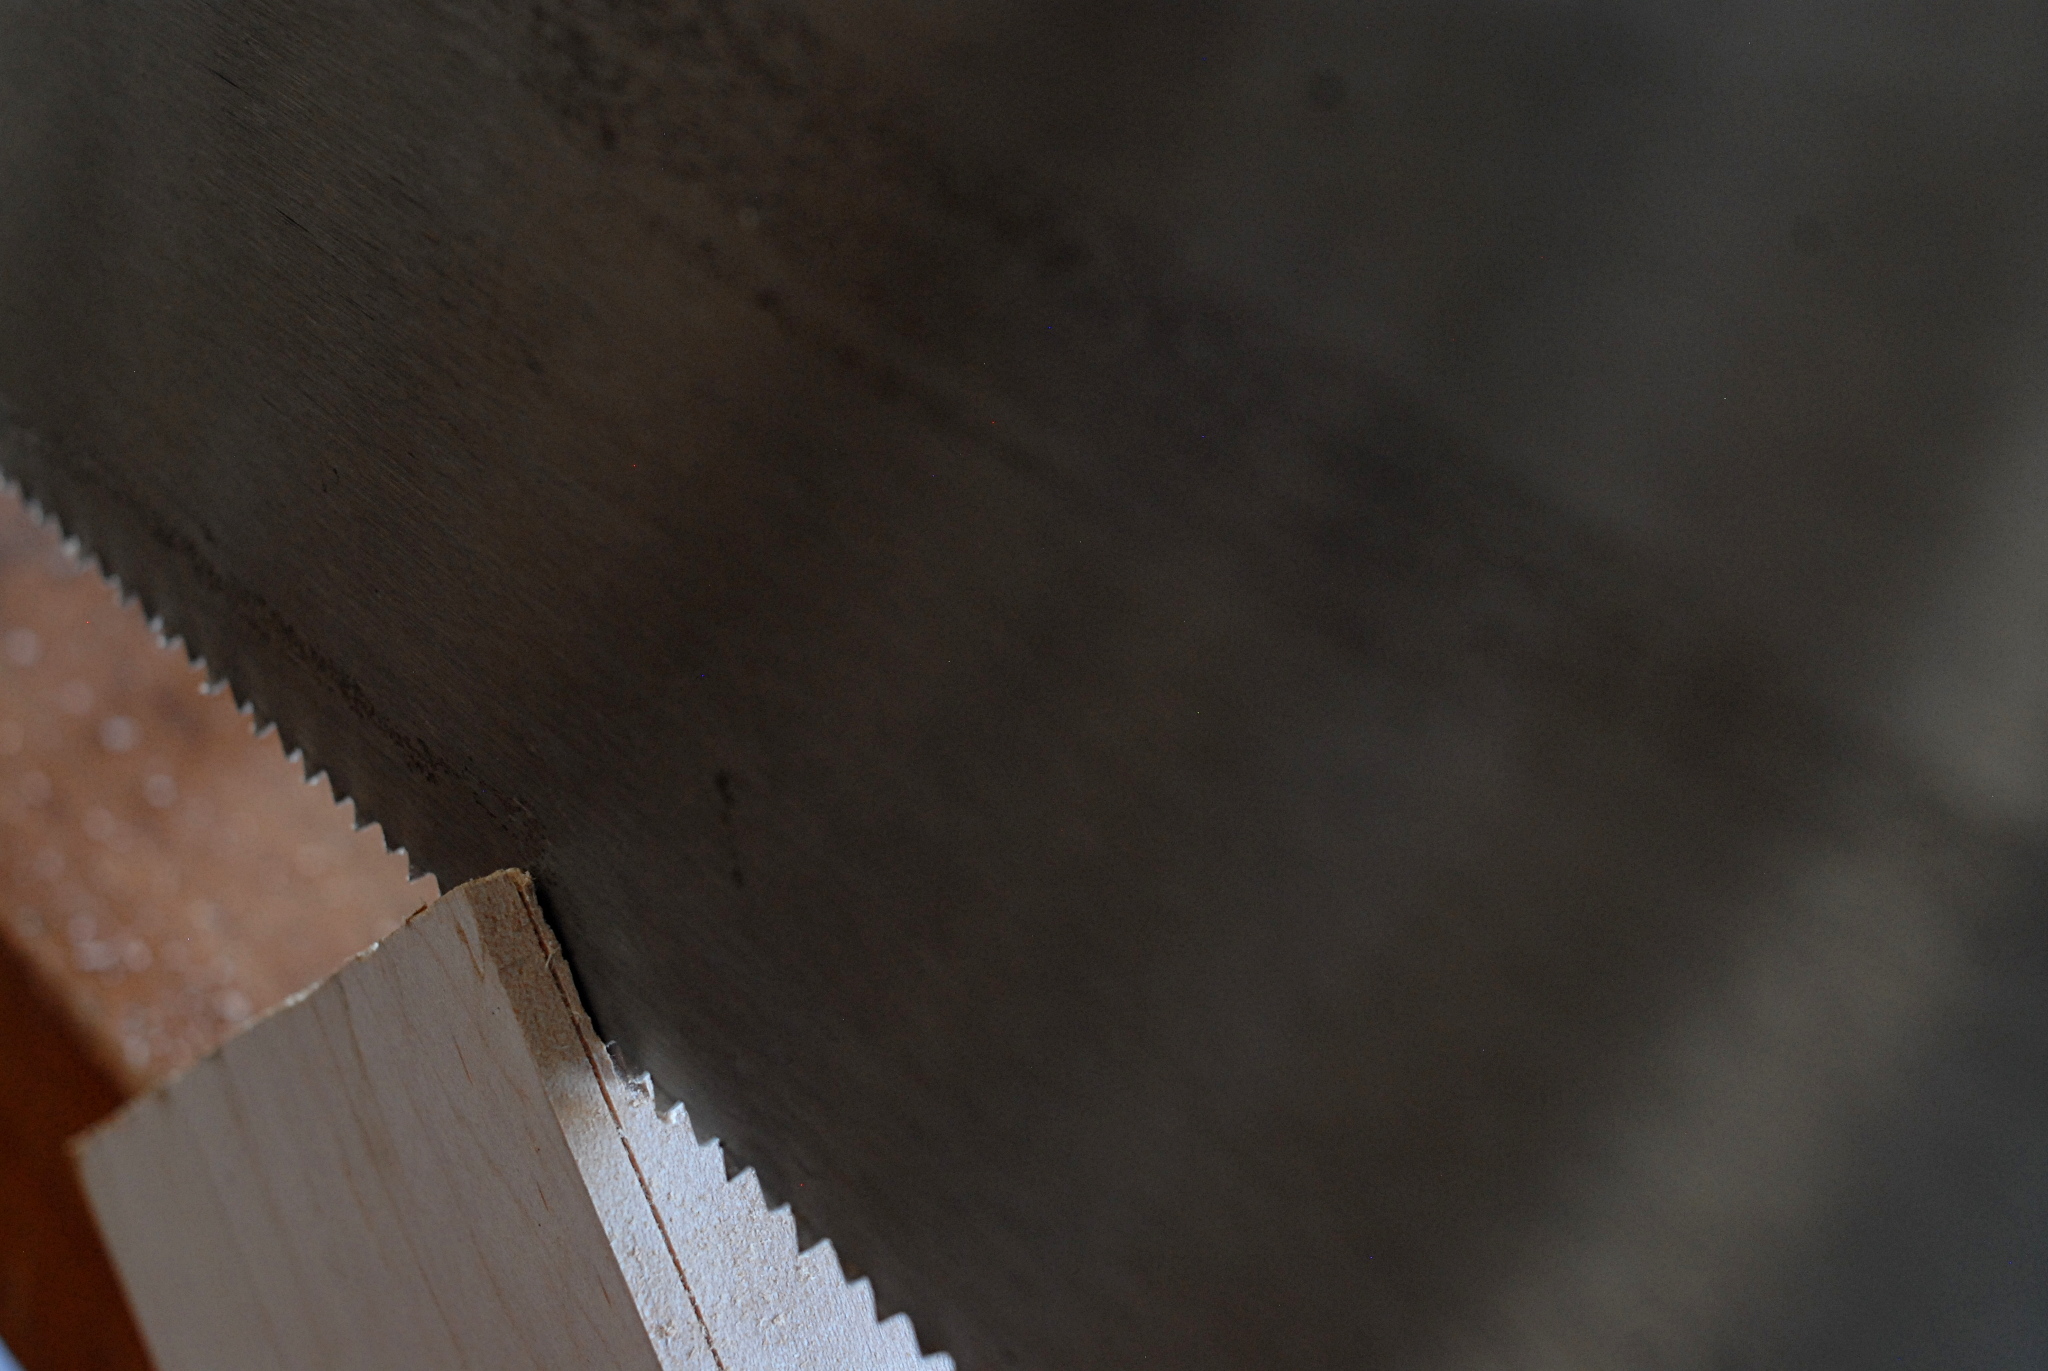
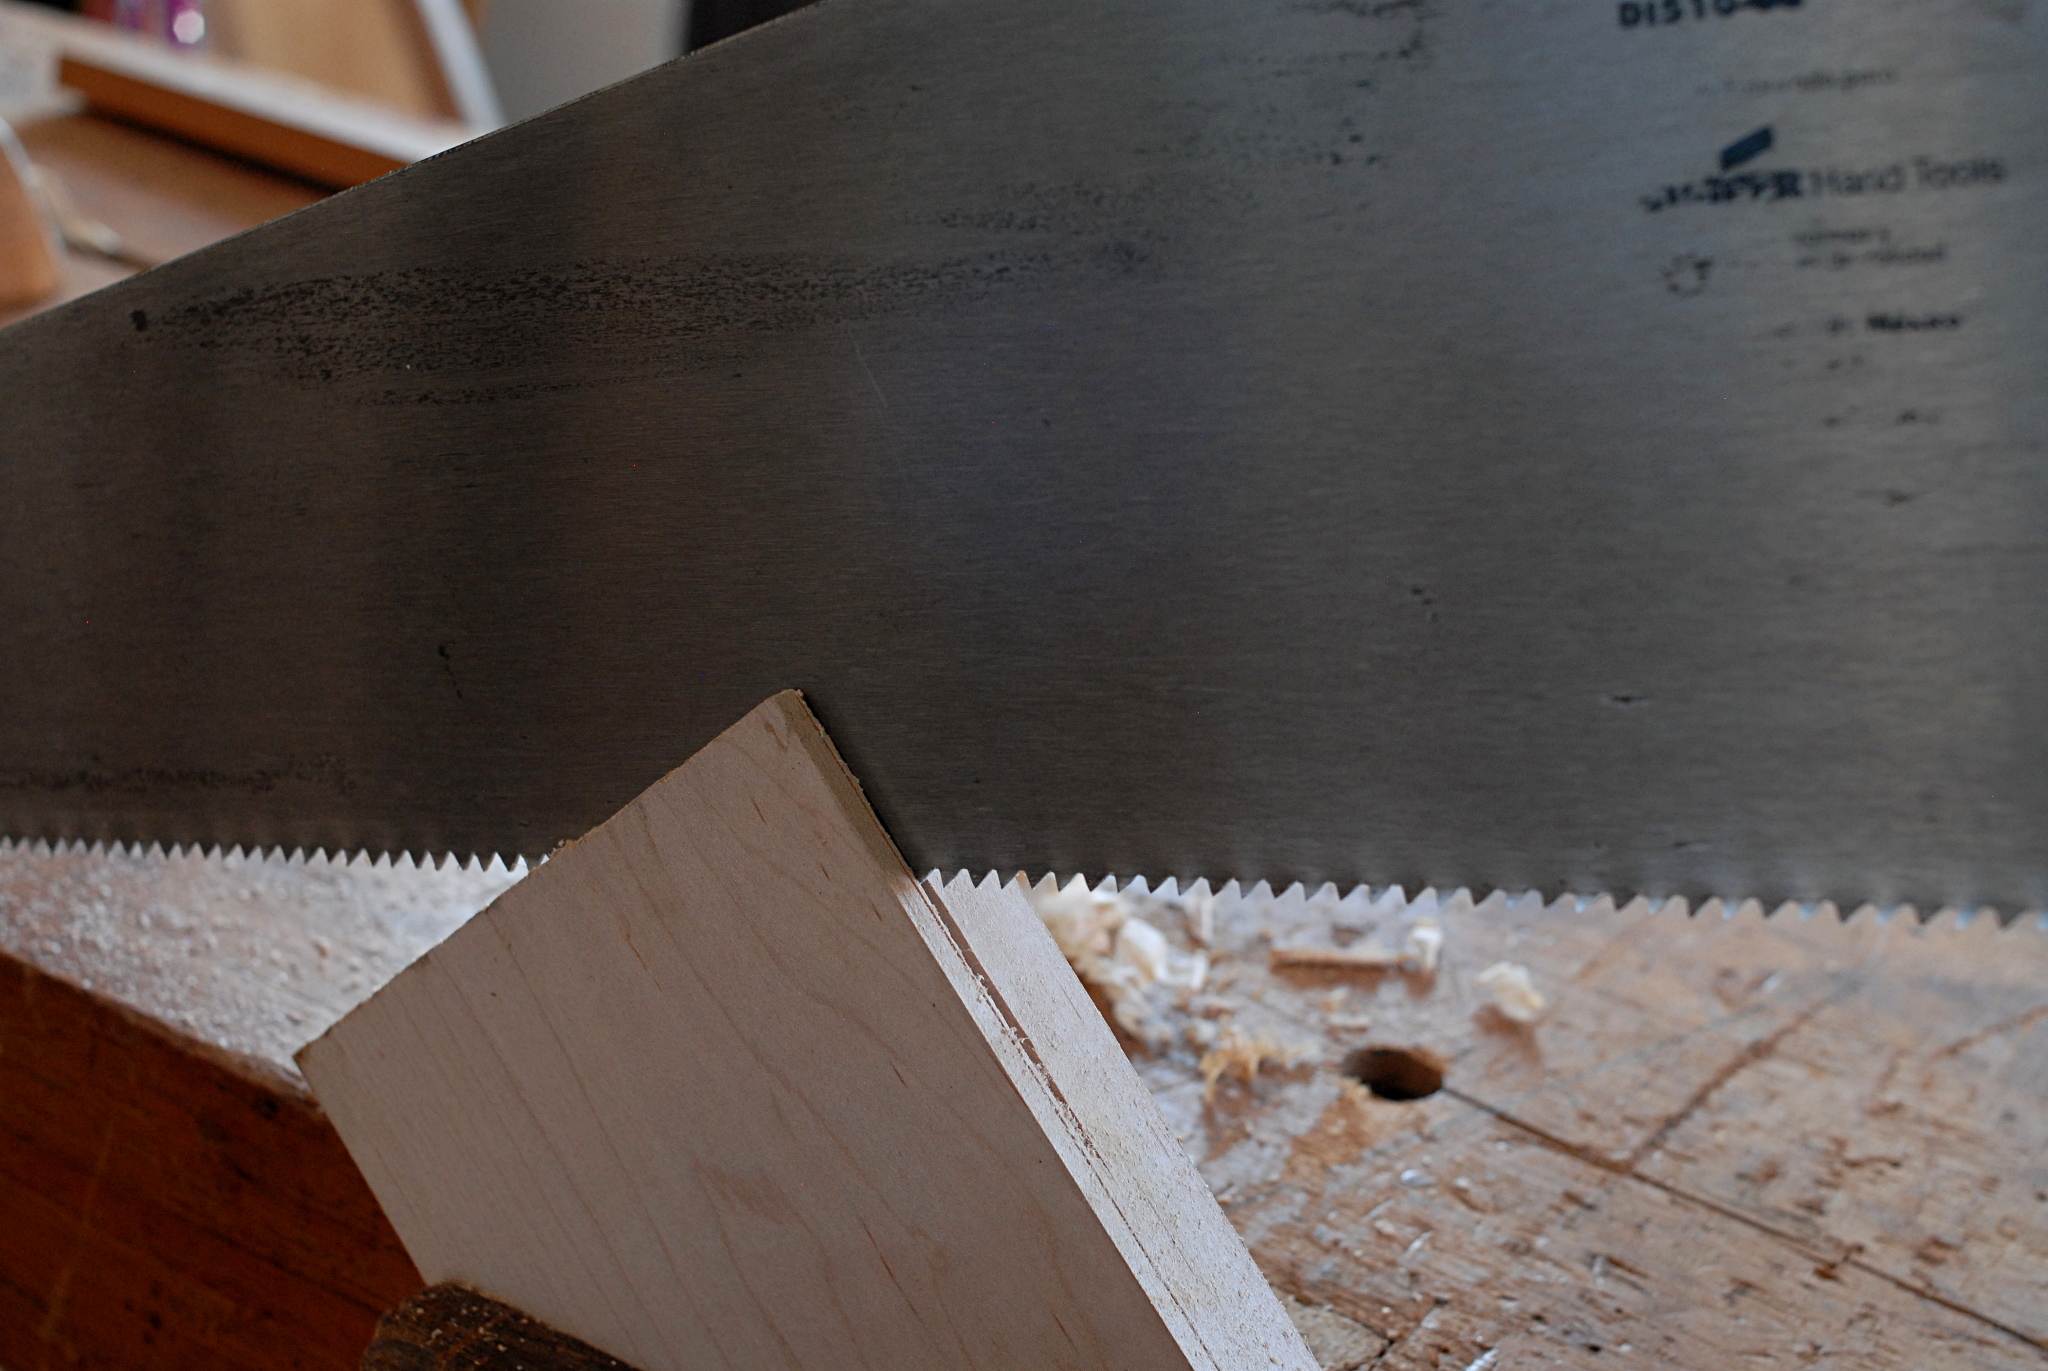
We have to resaw the board in order to extract that slice. I took my coarsest ripsaw and started a bit away from the line at a corner, being careful to sight down the saw to make it coplanar with the lines on two edges. It is useful to clamp the board at about 45 degrees from level.

Once the saw is into the corner, tilt it down gradually to lengthen the kerf...

Tilt it gradually the other way to make the kerf on the other edge...

And now you can really begin to saw powerfully, since the kerfs will guide the saw.
Gradually extend the cut until the other corner, and repeat the process on all four sides.
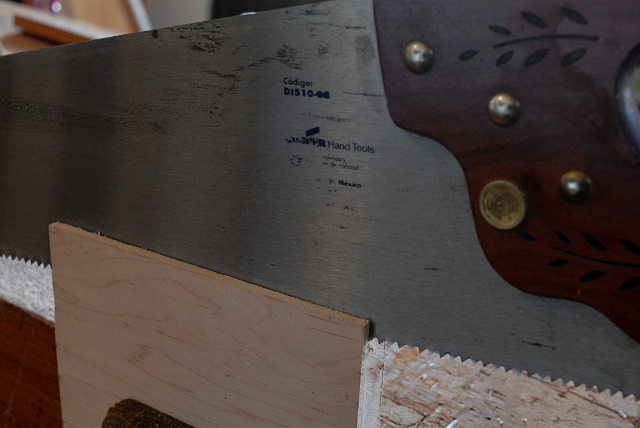
Admire your handiwork; wipe away the sweat.
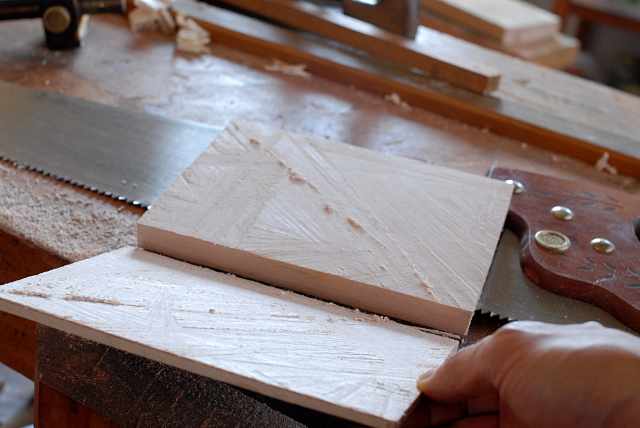
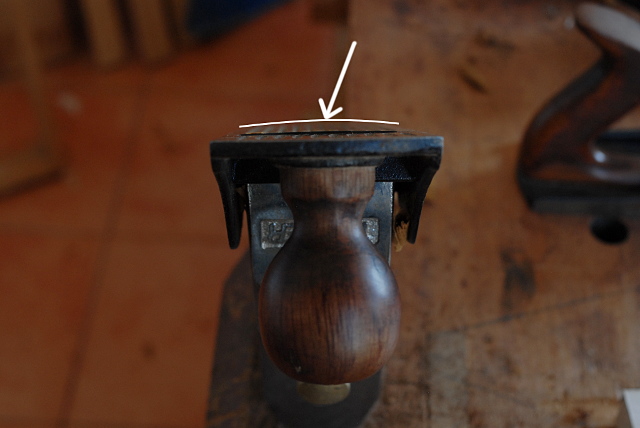
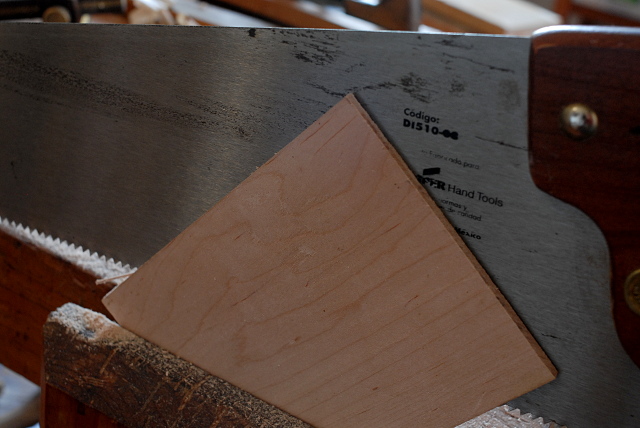
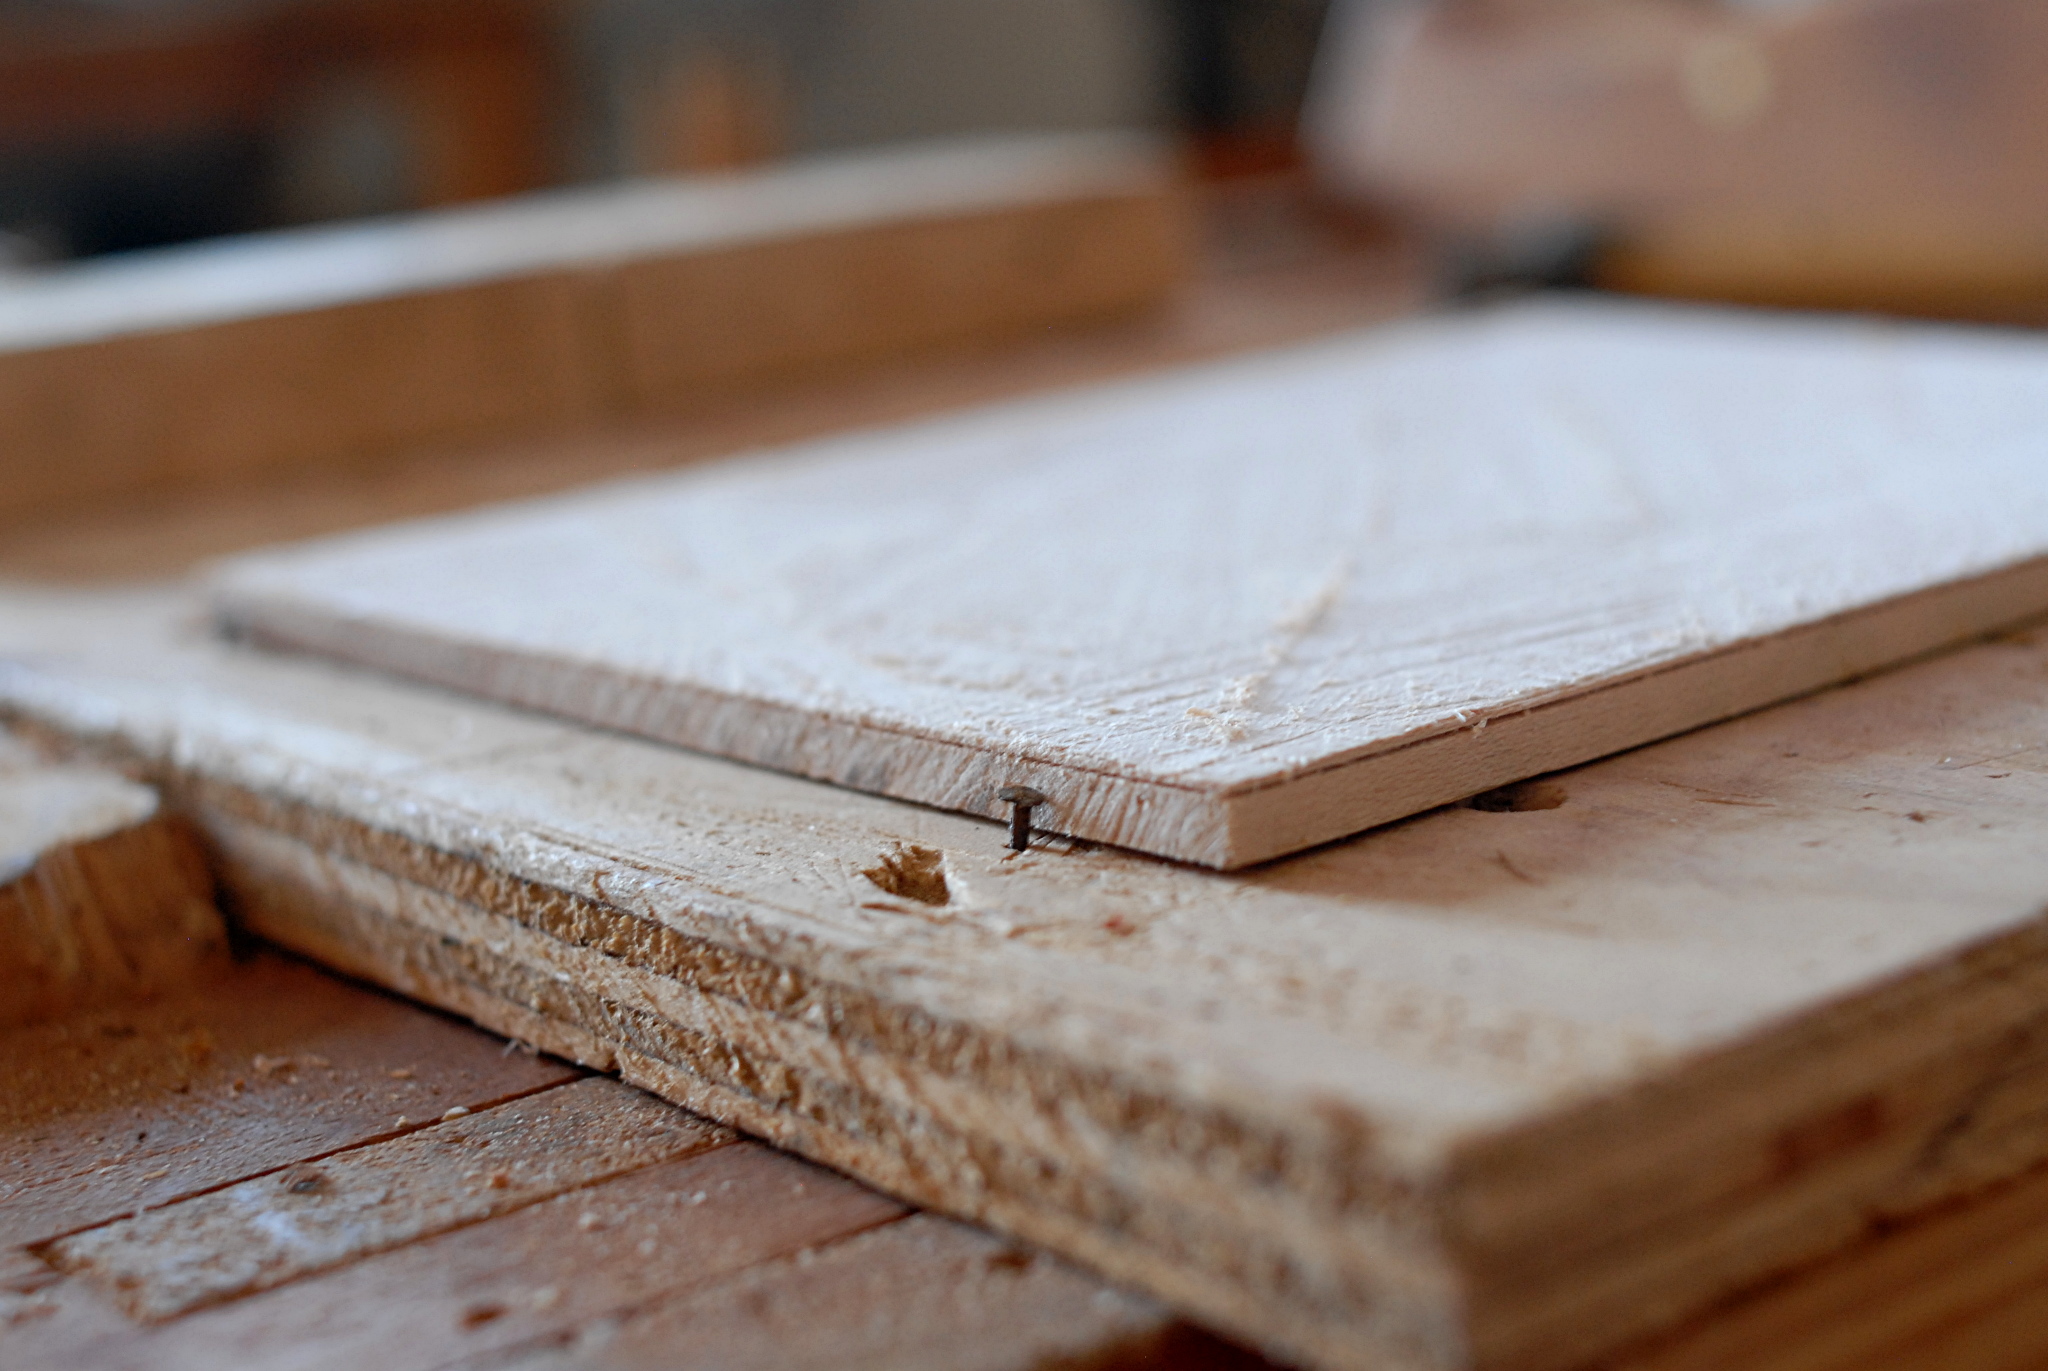
Plane to the line and leave a smooth surface. Since the board is too thin to hold down with the normal planing stops on the workbench, I used a couple of nails as planing stops to keep the board from sliding forward.

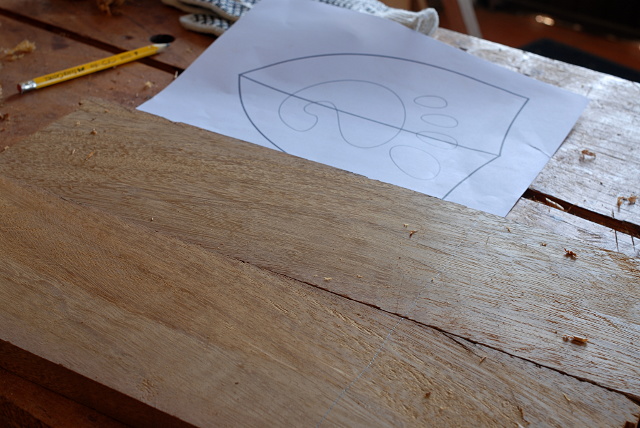
Now we can see the contrast between the woods. The next step is to glue templates on each board, and start cutting.


-
I am making a special little piece. It will be an inlaid GNOME logo, made of light-colored wood on a dark-colored background.
First, we need to make a board wide enough. Here I'm looking for which two sections of those longer/narrower boards to use.
Once I am happy with the sections to use — similar grain, not too many flaws — I cross-cut them to length.

(Yes, working in one's pajamas is fantastic and I thoroughly recommend it.)
This is a local wood which the sawmill people call "amargoso", or bitter one. And indeed — the sawdust feels bitter in your nose.
Once cut, we have two pieces of approximately the same length and width. They have matching grain in a V shape down the middle, which is what I want for the shape of this piece.
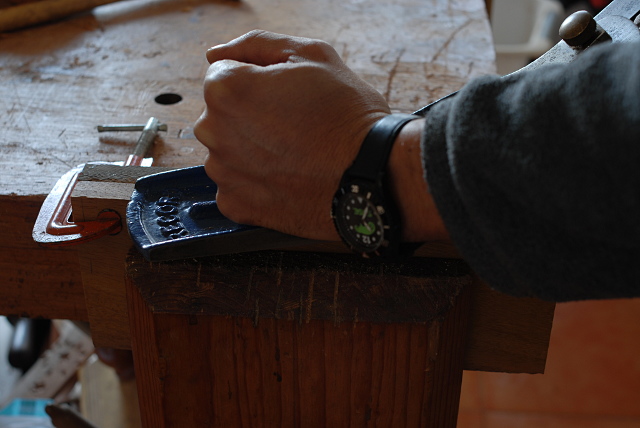
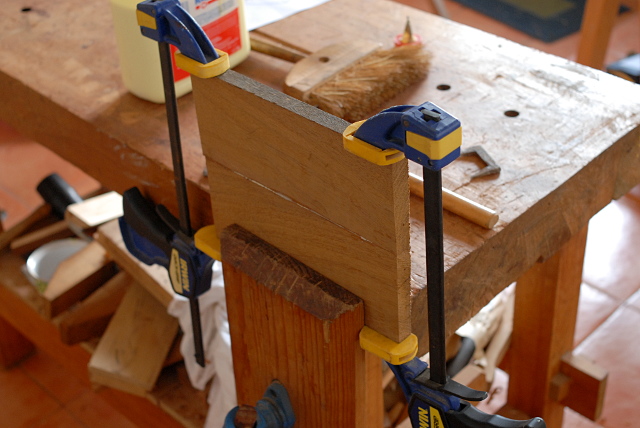
We clamp the pieces togther and match-plane them. Once we open them like a book, there should be no gaps between them and we can glue them.

No light shows between the boards, so there are no gaps! On to gluing. Rub both boards back and forth to spread the glue evenly. Clamp them, and wait overnight.
Meanwhile, we can prepare the wood for the inlaid pieces. I used a piece of soft maple, which is of course pretty hard — unlike hard maple, which would be too goddamn hard.
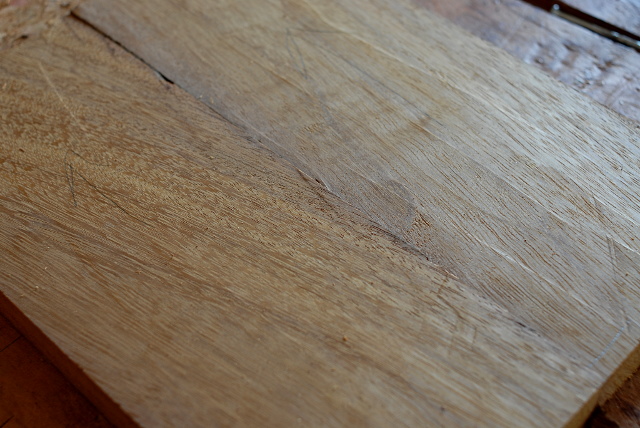
This little board is not flat. Plane it cross-wise and check for flatness.
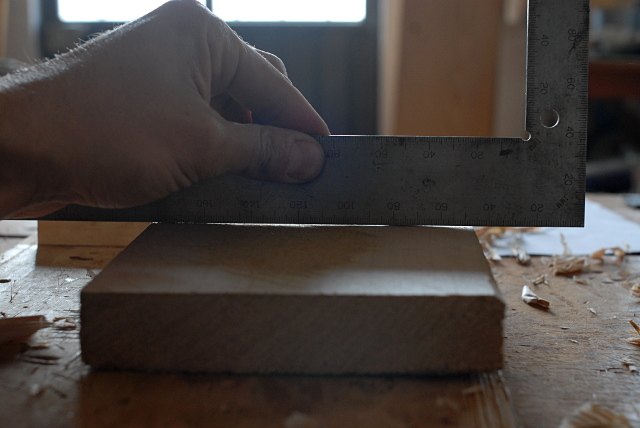

Tomorrow I'll finish flattening this face of the maple, and I'll resaw a thinner slice for the inlay.